


I learned this week how to do “non-destructive editing” by converting photos into Smart Objects. Slick!
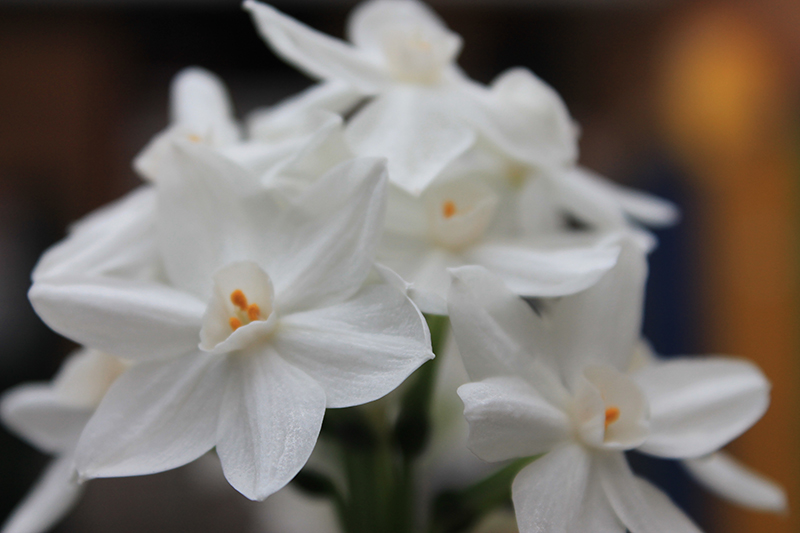
Arrayed in Splendor | Jan. 24, 2013 | 11:39 am | Benson greenhouse, BYU-I Campus; Rexburg, ID | f/6.3 | 1/160 | Canon EOS Rebel T3
I love the dramatic contrast between these delicate white flowers and the mysterious dark background. But I don’t love that the focus is right in the middle! I’ve finally learned how to use spot metering, (thanks Abby!) but that doesn’t help THIS photo…but a smart filter edit will!

That’s better.
I started by converting the photo in Photoshop (Filter > Convert for Smart Filter). Then I added a black mask to the image and chose Filter > Sharpen > Smart Sharpen. I used a combination of the lasso tool and a brush with white paint to reveal the sharpening filter around the cup and petals of the left-most flower to create a solid focal point.
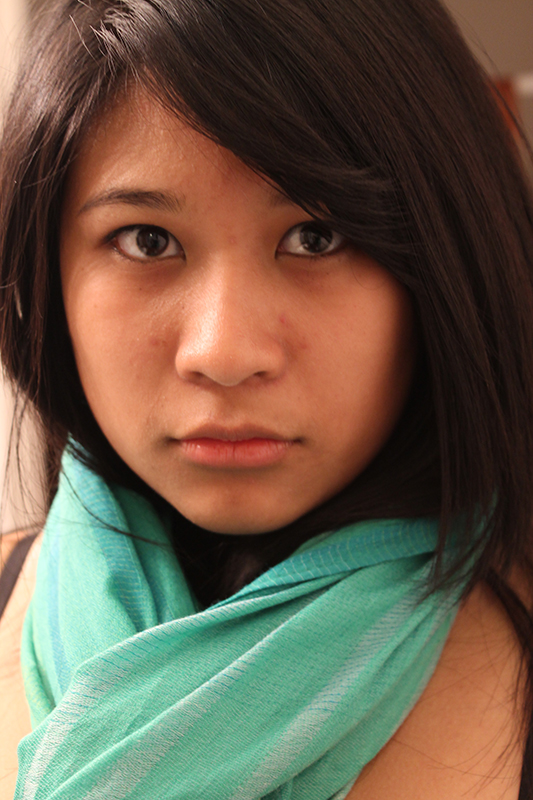
Felicia | Jan. 20, 2013 | 10:33 pm | Rexburg, ID | f/5.0 | 1/25 | Canon EOS Rebel T3
When I took this picture, I didn’t have any idea how to compensate for the over-bright vanity light that washed out the color of Felicia’s scarf. I love the intensity of her gaze, though, so I decided to try and fix the image using adjustment layers.
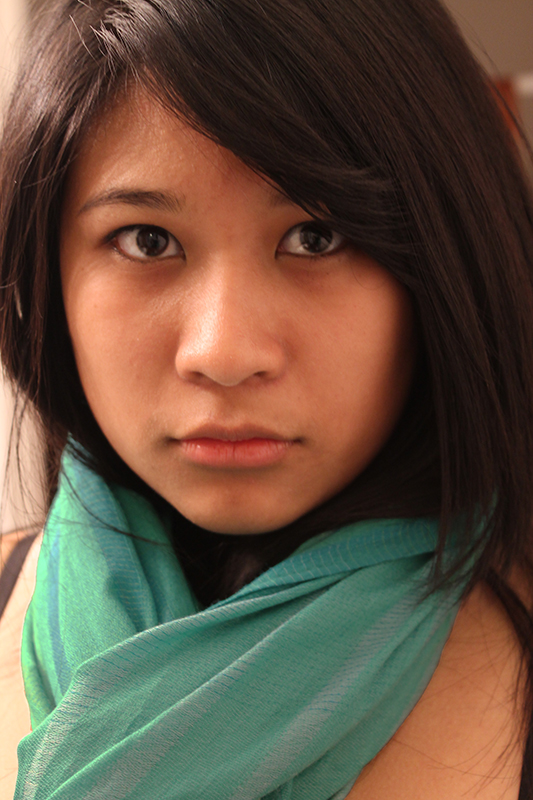
Color-corrected version
I began by using a Brightness/Contrast adjustment layer to bring down the brightness of the whole image. Then I used the lasso tool and the quick selection tool to select her scarf. I inverted the selection and filled the adjustment mask layer with black, so the adjustment would be applied only to the scarf. I used the Content-Aware Move tool to smooth out her complexion a little and then took a hard small brush to the edges of the black on the selection tool to clean it up.