Emmy and Ben were dressed in their finest for our Photoshoot. Emmy has the most stunning eyes I have ever seen, and Ben looked positively stylish in his tux. They were so much fun to shoot together. ...
Read MoreEmmy and Ben
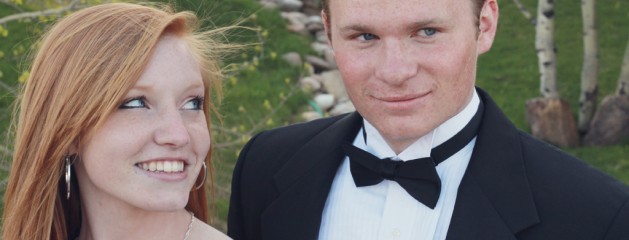


Emmy and Ben were dressed in their finest for our Photoshoot. Emmy has the most stunning eyes I have ever seen, and Ben looked positively stylish in his tux. They were so much fun to shoot together. ...
Read More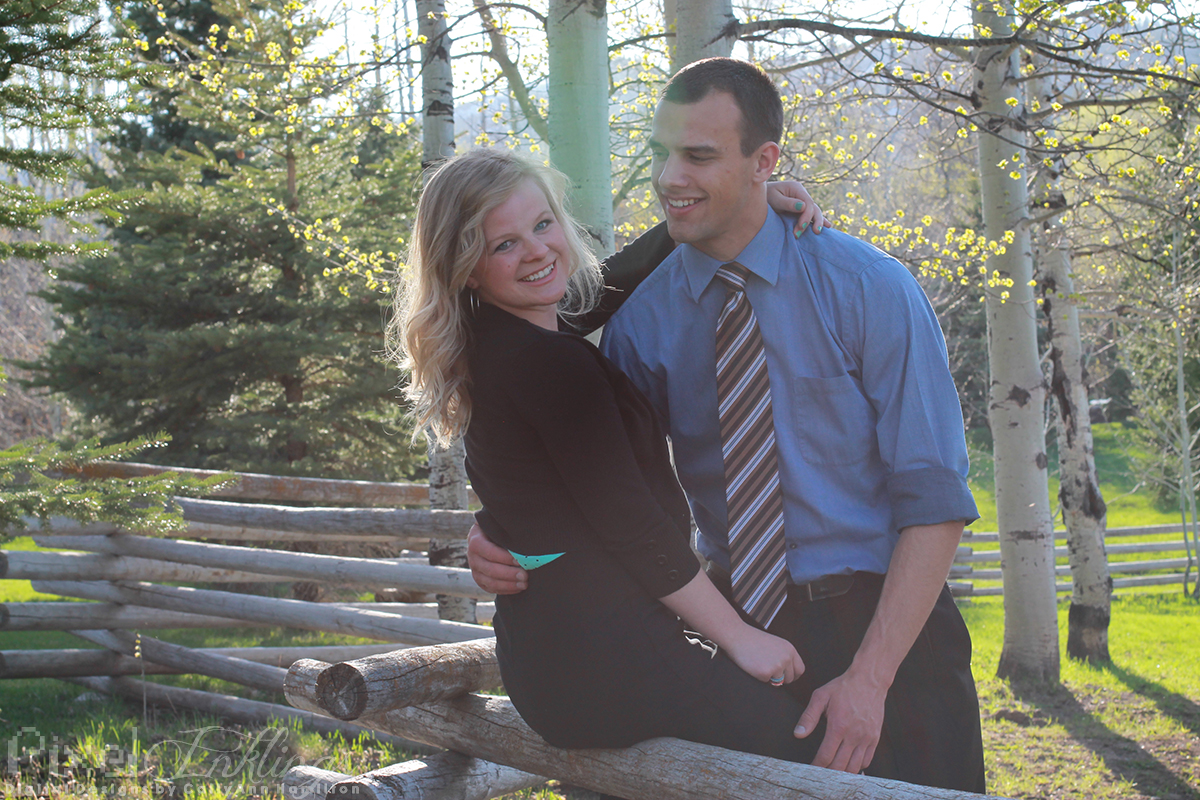
Tyler and Laura are a beautiful couple. I loved shooting them, especially in the gorgeous wood setting. ...
Read More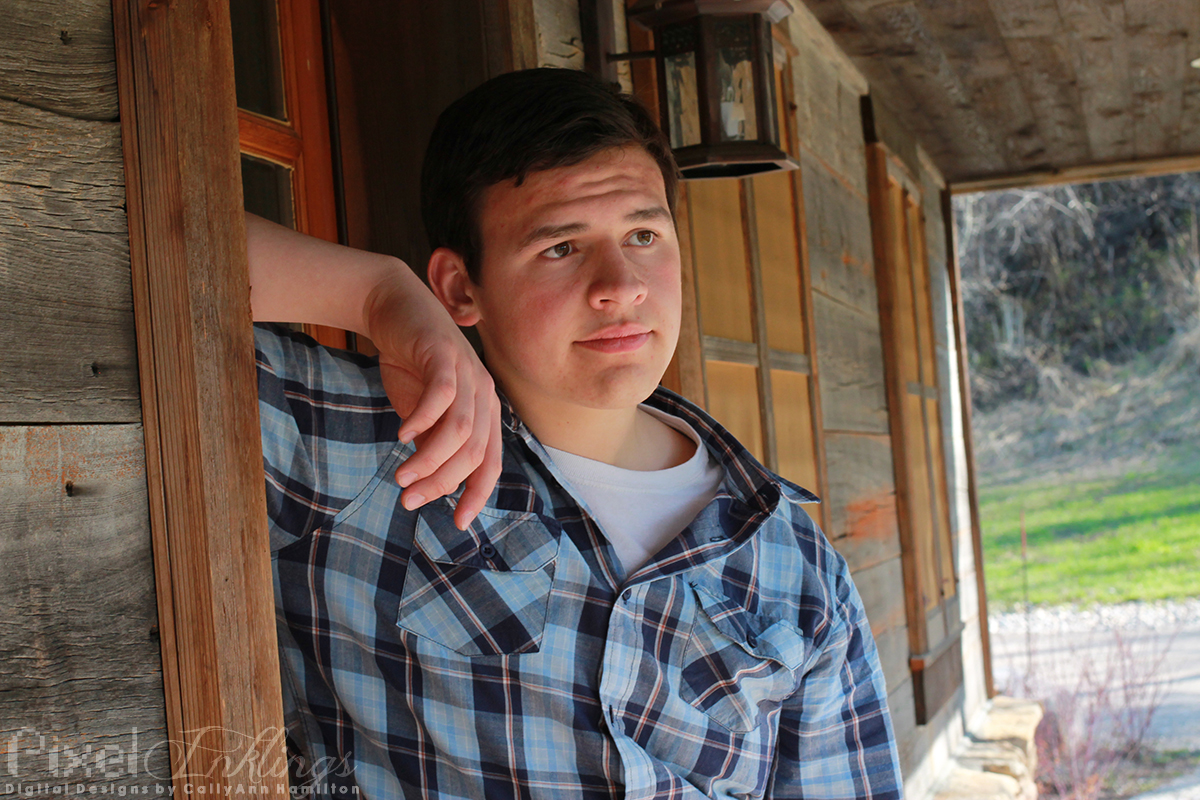
Mason was my favorite model to shoot on my Sky Mountain excursion. I have so many shots of him laughing, jumping, and just having a great time. Here are a few of my favorite shots of this handsome kid. ...
Read More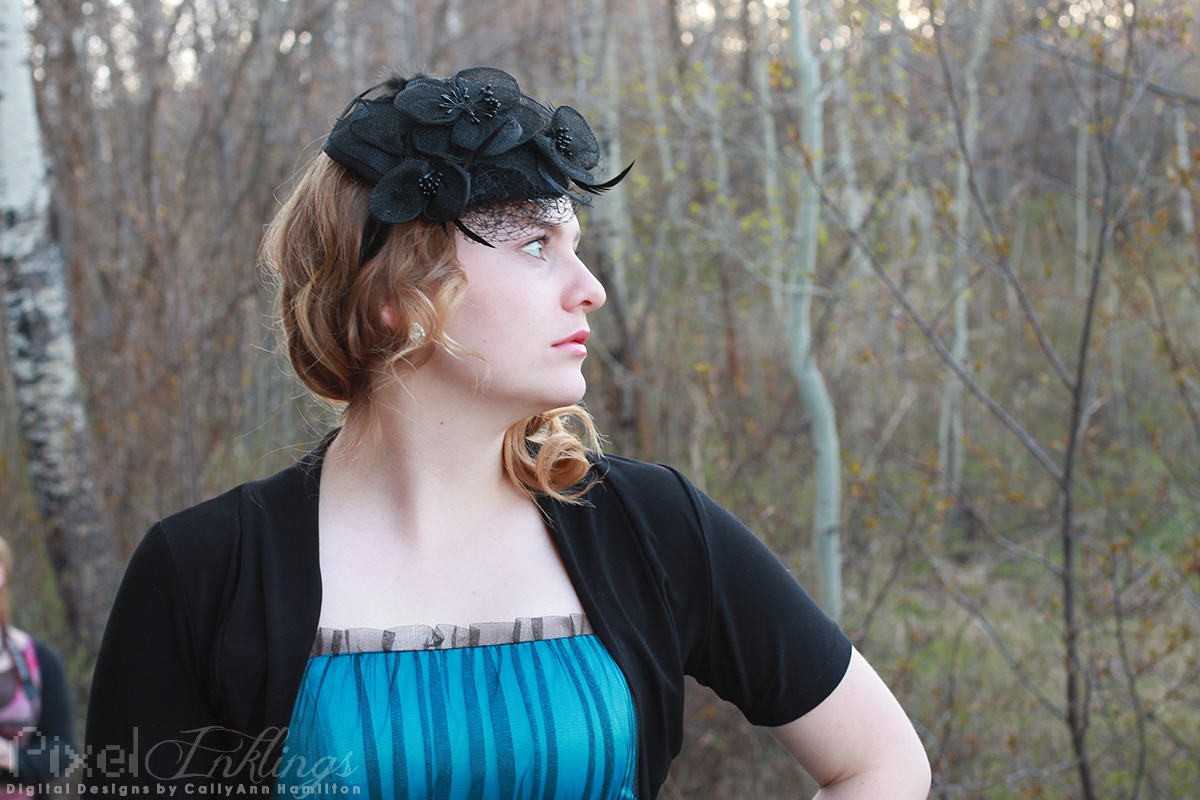
My first impression of Tiana was that of a shy teenager. Fortunately, she warmed up quickly and soon proved that she had the most adorable dimples! We were in for another surprise after she changed into her second outfit. Tiana’s second outfit had a distinct 20s flair that I just ate up! The color was gorgeous on her and I loved her attention to details, from the fascinator to the gloves....
Read More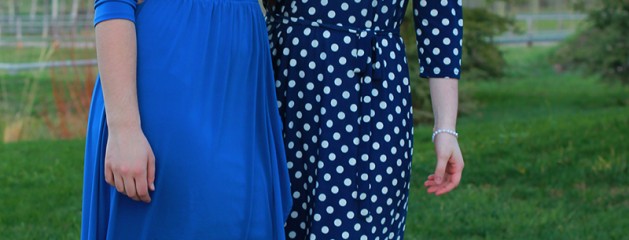
Mary and Darby are two beautiful sisters. They modeled for us on our photo excursion up at Sky Mountain lodge. They were at two separate stations, and then at the end of our shootout I got a few shots of them together. Mary has a lovely demure grace and Darby has some serious moxie! We really couldn’t have asked for better lighting. The woods were absolutely stunning with the late afternoon sun filtering through them. And what a great opportunity to shoot such a lovely model! Mary’s second outfit was a cute polka-dot dress reminiscent of the 50s. She looked so elegant! Darby was a little more difficult to shoot simply for want of light at her location, so I had to do significantly more editing on her photos. I had a great time experimenting with photoshop actions to achieve this effect: Darby’s second outfit was her beautiful ballet costume. I loved the timeless effect converting the photos to black and white had on the tone of this mini shoot. At the very end of the shoot, Darby and Mary’s mother wanted to get a few shots of the girls together. Darby changed into a pretty blue dress and I had a blast photographing the two of them playing off each other. Their personalities really came to...
Read More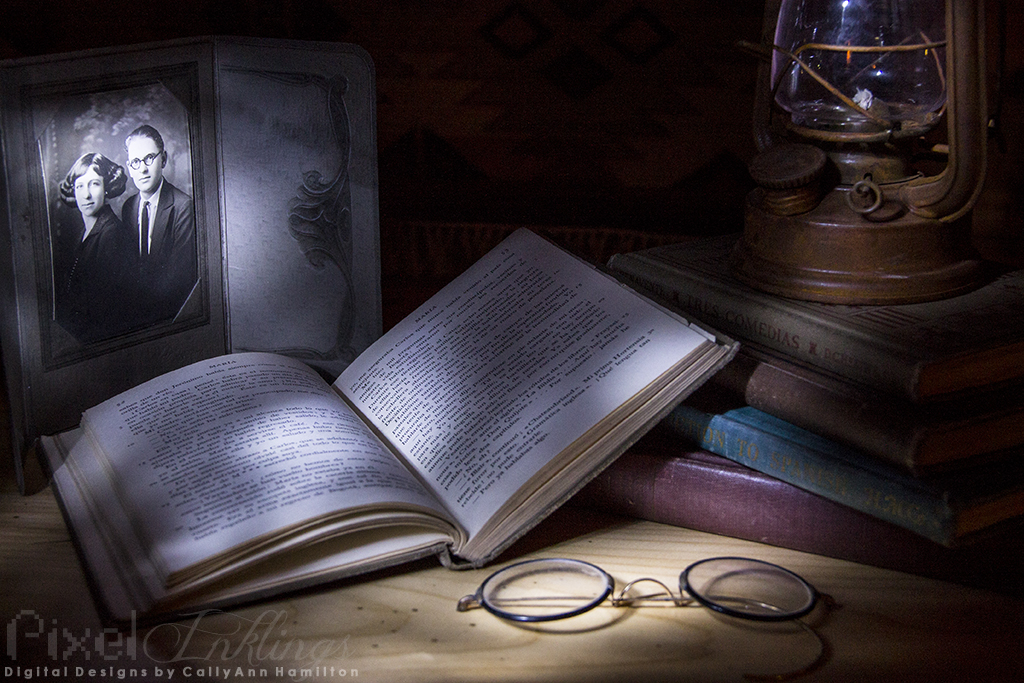
Light painting is tricky, because it’s hard to know how your image will turn out. Though I was initially disappointed with this piece, I realized that it looked like the scene was sitting near a window, illuminated by moonlight filtering through tree leaves. Still, it was pretty dark and blurry, so in Camera Raw I increased the clarity, exposure, vibrancy and saturation. These little vials were the first thing I wanted to shoot when I saw them arranged with the other light painting scenes. I have a thing for bottles and colored liquids. The snoot on my flashlight was sloppy so I had a really hard time controlling the light. I had to do quite a bit of editing in Camera Raw to reign in the focus. I had way too much light, so I reduced the exposure, whites, and highlights, and boosted the shadows, contrast, vibrancy, and saturation. Finally, I reduced the clarity and added a vignette to soften the whole image. This was a difficult scene to arrange and paint. I didn’t really know what to do with all of the elements, particularly the strange tiles, but I’m satisfied with the somewhat pell-mell result. I love journals, and if I’d had time, I’m sure I’d have loved to look through these old books. I didn’t do any edits. Remember what I said about that “thing” I have for bottles and colored liquids? That doesn’t quite extend to sodas. Still, I loved the colors of these classic pops and the way they lit up when I shined my light through them. I wasn’t very careful about the angle of my tripod so I had to tilt the image in Photoshop and then crop it down. I used content-aware fill to eliminate a distracting reflection from my flashlight on the red soda. My last tabletop light painting for the excursion had to be a macro shot, so I borrowed a classmate’s Canon EOS 60D and his macro lens and dialed in on this tiny scene of opulent jewelry. I had to really squish down the snoot on my flashlight to keep from flooding the whole scene, and I only dared keep the light on for about 10 seconds. My resulting photo was way too dark, so I had to take it into Camera Raw and boost the vibrance and saturation significantly. With an adjustment brush I increased the saturation, exposure, and sharpness on the facets of the jewels to bring them out even...
Read More
This cabin is across the way from Sky Mountain Lodge. Fortunately no one was there, or they would have probably been annoyed by the number of cameras parked outside their home and the large lights flashing past their windows. As “Blue Hour” passed through the sky turned a breathtaking shade of cobalt. We only had to paint light over the trees, and the pond naturally picked up the reflection. Since my shutter speed was open so long, you can see a neat streak of red in the background, indicating the tail-lights of a passing car down in the valley. There’s nothing like the stillness and quiet of a secluded cabin in the woods. The lodge was a little difficult to light paint because the windows reflected so brightly, but my flashlight-wielding teammates really pulled it off! I did some tiny spot editing in Photoshop to remove a glare from one of the lower...
Read More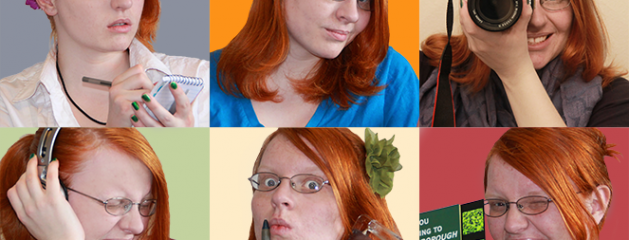
As a Visual Communication major, I find myself wearing several different hats. Though I didn’t love the movie, I loved the layout of the “Confessions of a Teenage Drama Queen” movie poster and thought it would be fun to spoof it! I certainly felt like a teen putting this together–I changed my outfit nine times and took over a hundred and fifty selfies to get the right photos for this project! Self-portraits are really difficult when you don’t have a trigger or anything to focus on it. I also had pretty poor lighting. The photo WITH my camera was the most awkward to take and edit, since I had to use my bathroom mirror to take it. Even so, I had a lot of fun with this! Here are the original photos: To edit the photos, I relied mostly on selection tools (lasso and quick selection), two adjustment layers (for hue and saturation), and the brush and eraser tools for airbrushing my terrible complexion and sculpting out the stray hairs I couldn’t select. For the photos I used my Canon DSLR and a tripod. Since I don’t have a trigger, I had to set a ten second timer, focus the shot on my chair, and then run into the shot before it took. I’m sure there must be a simpler way! If I wanted to put more time into the project I’d probably refine the airbrushing some more, and try to make the photography image match better than it currently does. It looks pretty...
Read MoreThese are extra photos I included in my photobook that I’ve not posted before. I took this photo through the window of the bus as we left Bannack Ghost Town. It was a shame we had to leave when we did because the lighting was finally perfect for shooting. I was so sick and worn out though, I’m not sure I could have lasted any longer anyway. No edits. I found these mason jars in the doctor’s house in Bannack Ghost Town. I took the photo at three different exposures and ran the images through Photomatix to create an HDR image. In Camera Raw, I boosted the saturation and contrast. My roommate taught me that green onion can be grown in a vase in the windowsill. I used hers to practice shallow-depth photography. I like the texture of the window screen in the background. ...
Read More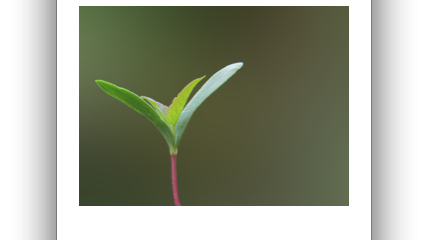
Responsive Web Banner Tutorial I was asked to make a tutorial for a potential use for photography. Since I love code and I’d recently learned about responsive web design, I wanted to learn (and, ultimately, teach) how to make a web banner that can adapt to the screen resolution. Beyond simply scaling down, the “content” of this banner (the plant cutout) scales at a different rate from the background. It’s easier to understand if you see it in action. Try grabbing the edge of the browser window and dragging it in and out to see the banner change! I created the tutorial itself in InDesign. The sprout and the background are images of...
Read More