


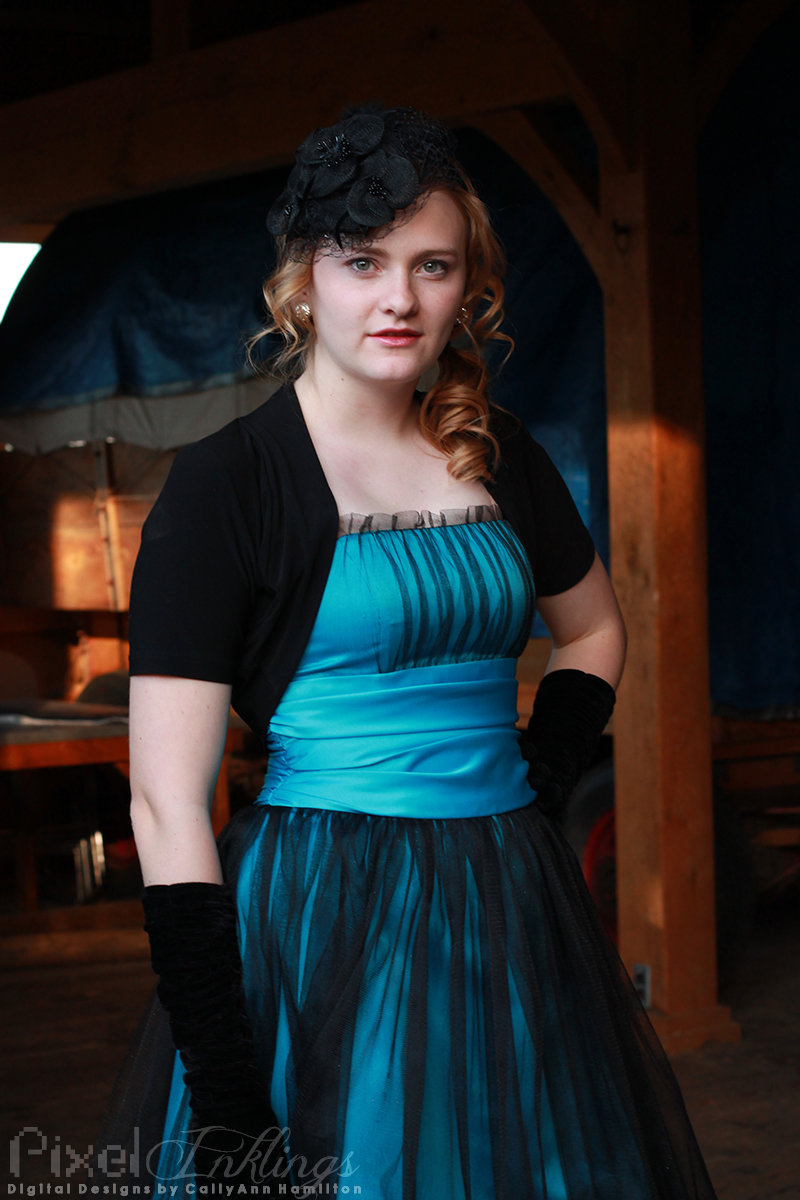
Tiana
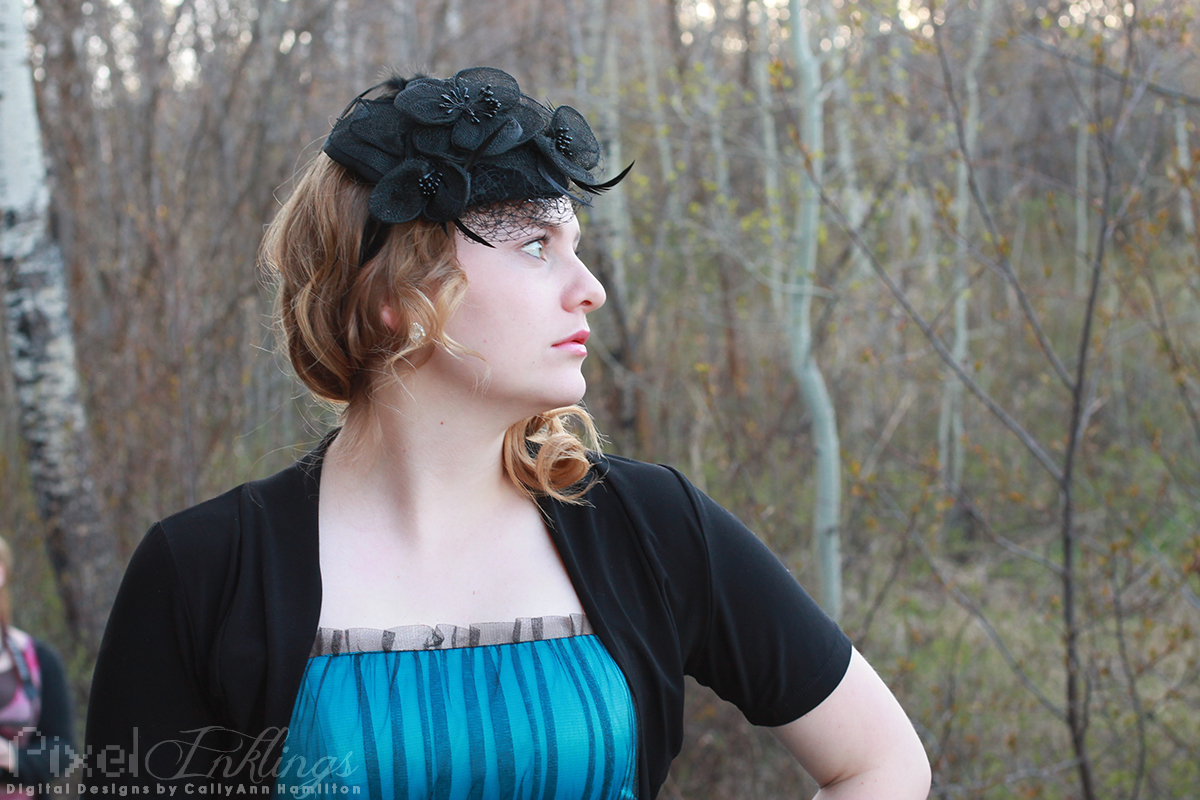
My first impression of Tiana was that of a shy teenager. Fortunately, she warmed up quickly and soon proved that she had the most adorable dimples! We were in for another surprise after she changed into her second outfit.
Tiana’s second outfit had a distinct 20s flair that I just ate up! The color was gorgeous on her and I loved her attention to details, from the fascinator to the gloves.
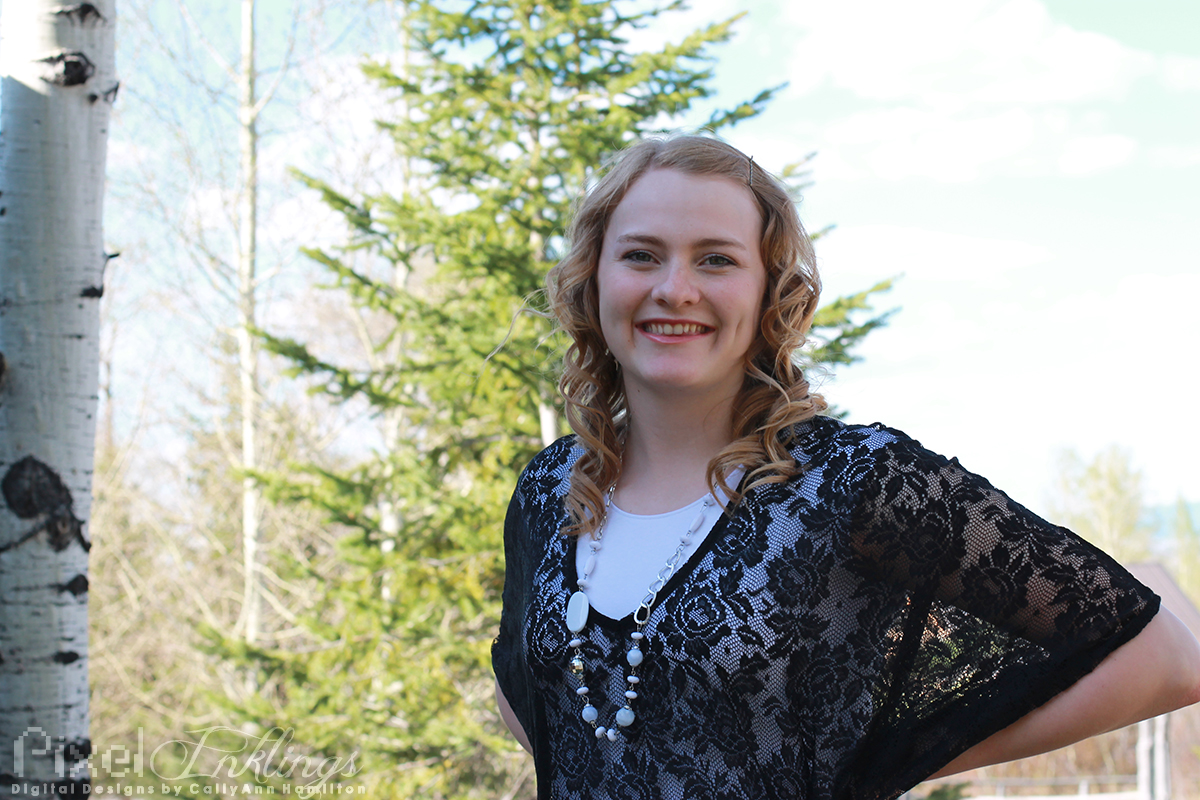
Mary and Darby
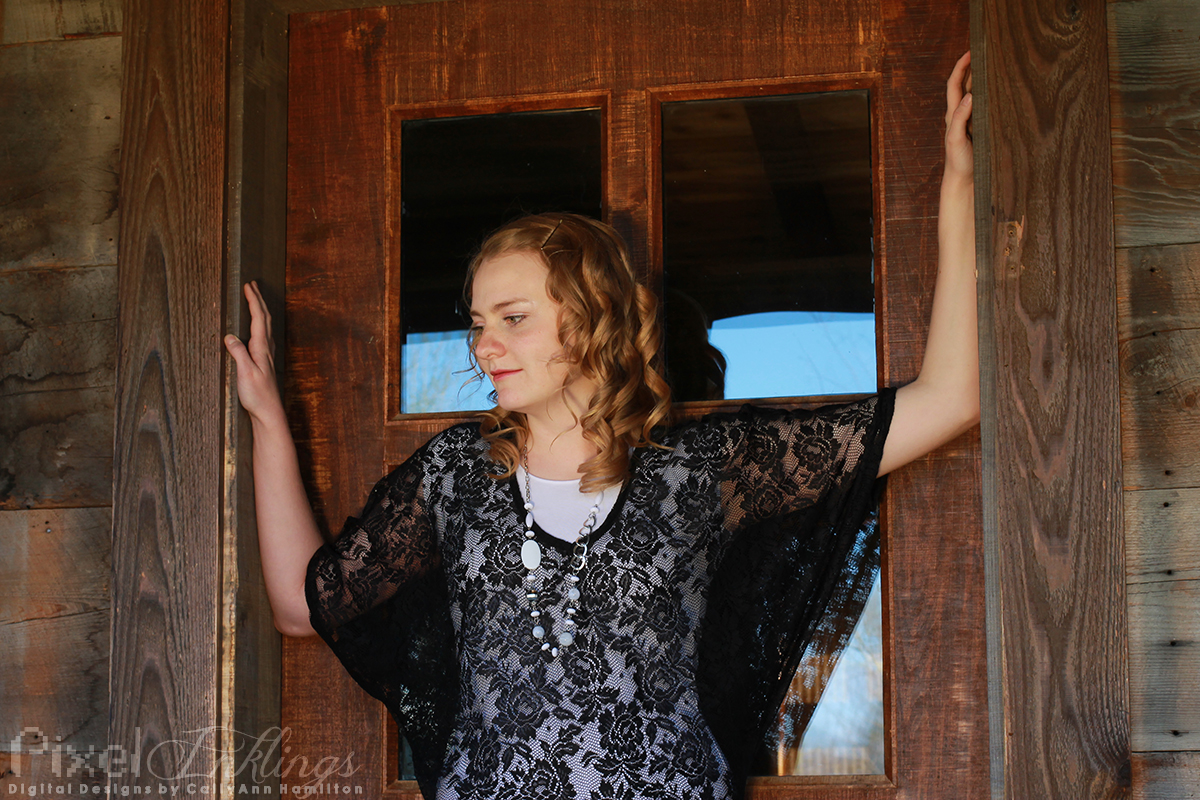
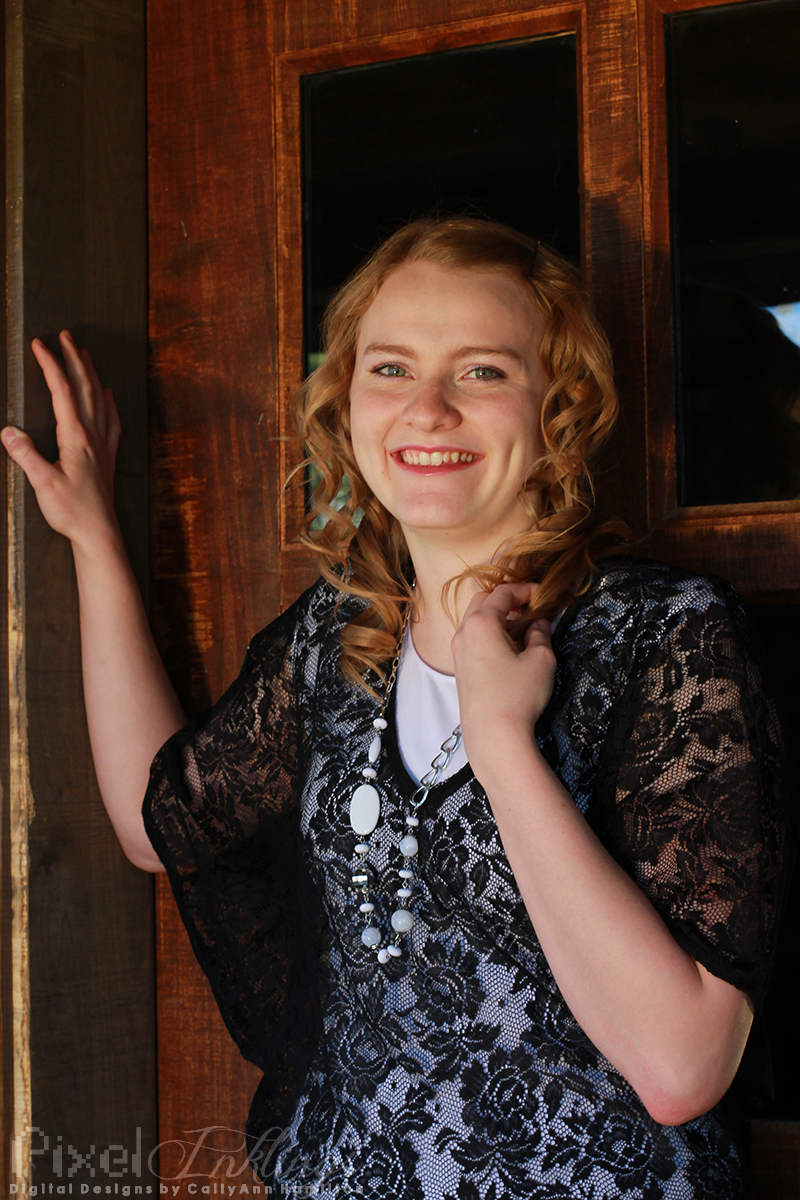
Mary and Darby are two beautiful sisters. They modeled for us on our photo excursion up at Sky Mountain lodge. They were at two separate stations, and then at the end of our shootout I got a few shots of them together. Mary has a lovely demure grace and Darby has some serious moxie!
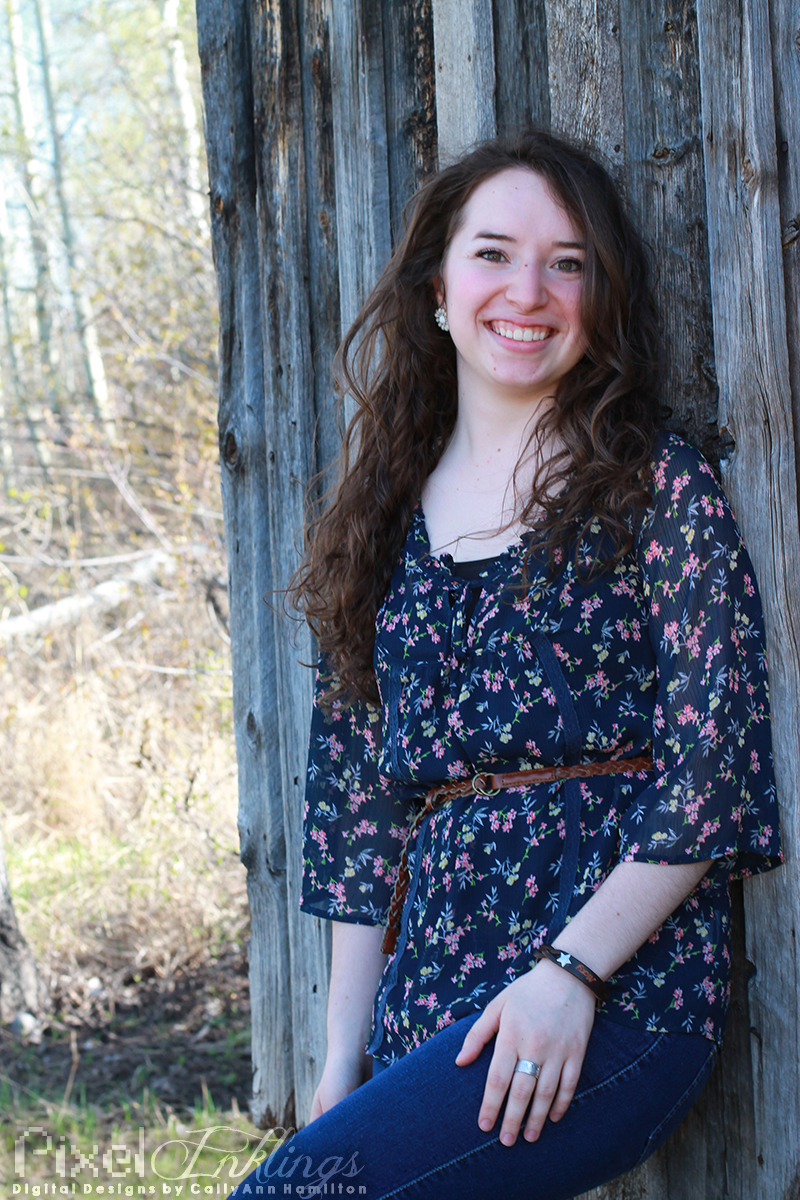
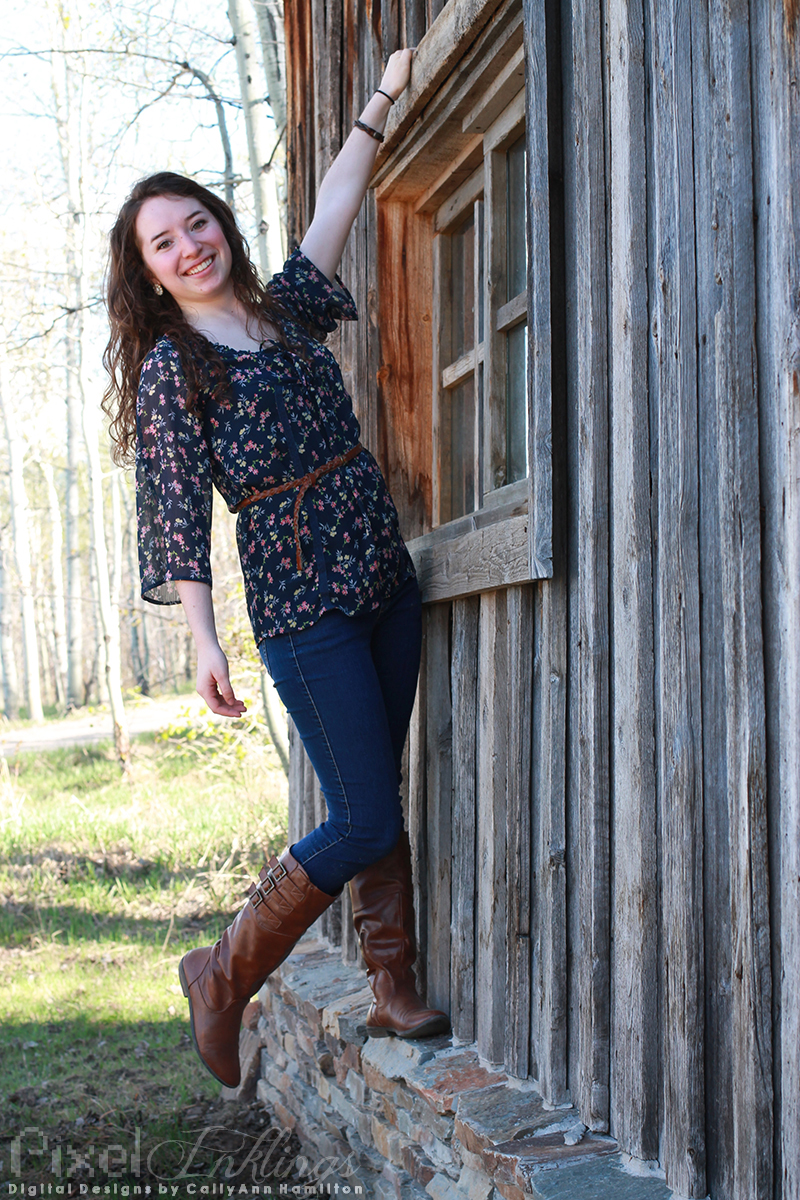
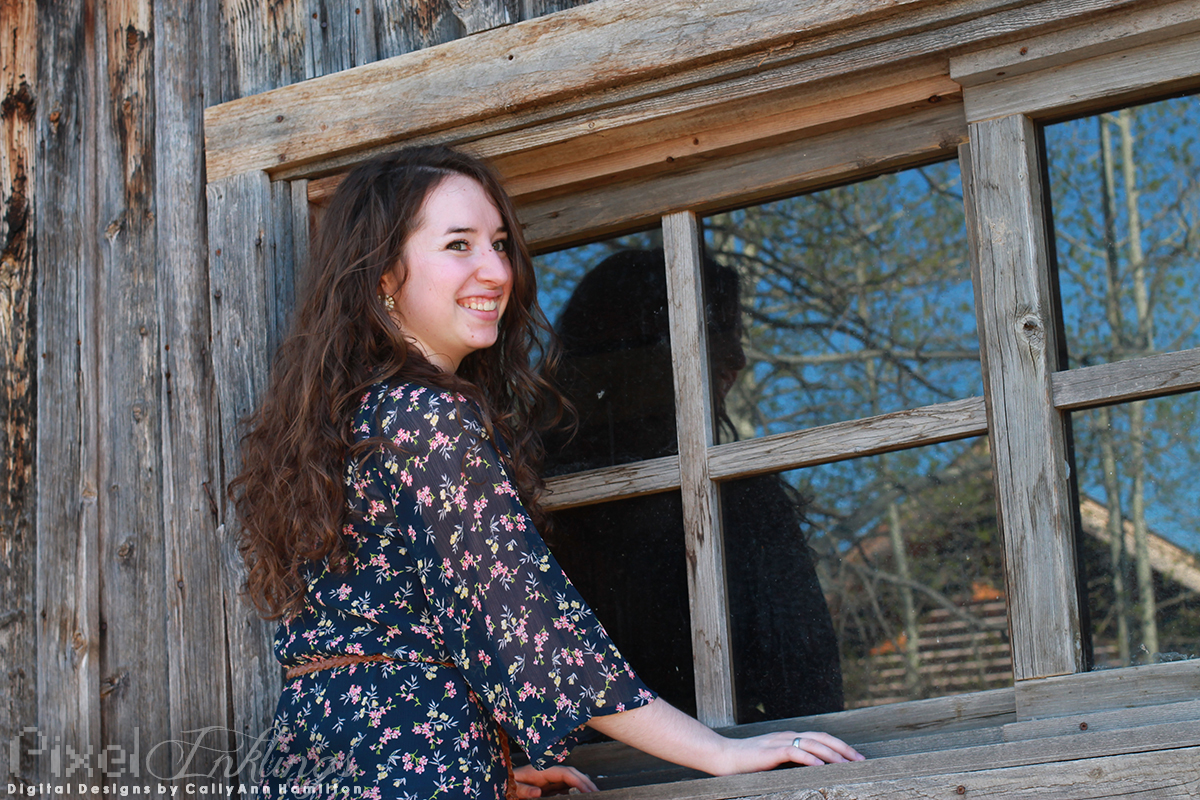
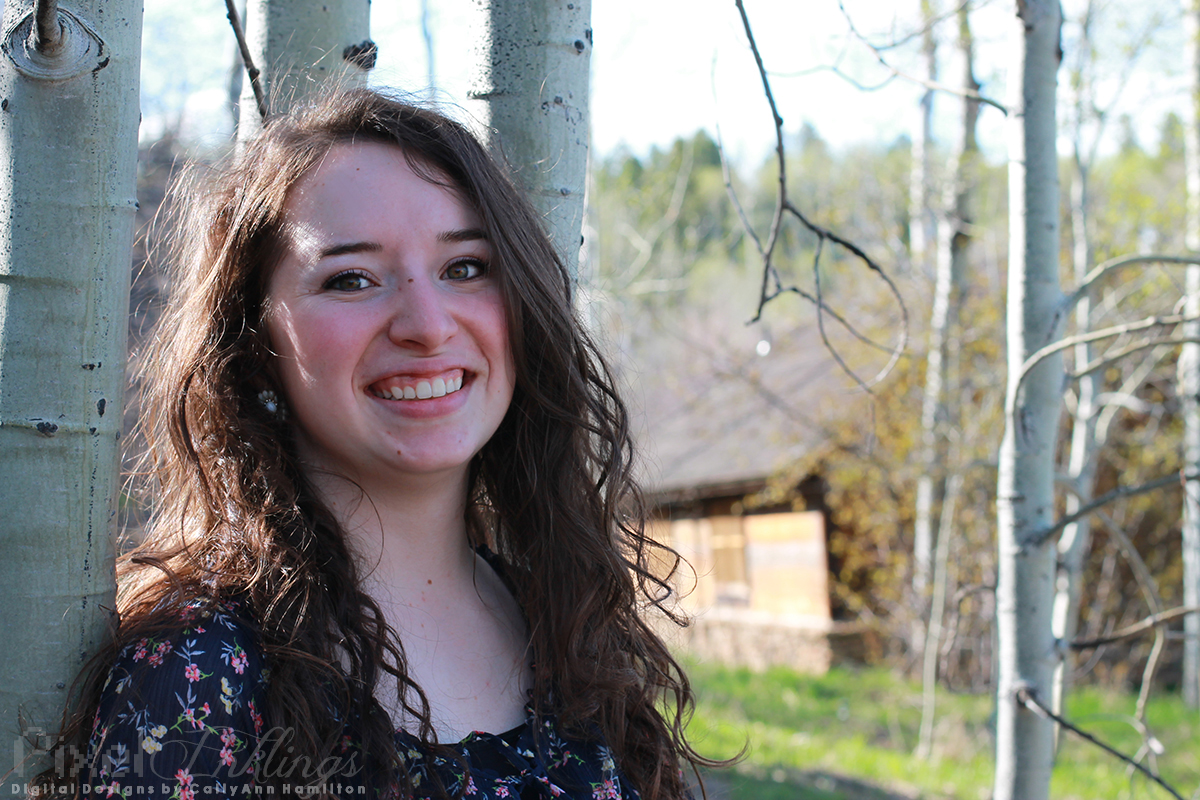

We really couldn’t have asked for better lighting. The woods were absolutely stunning with the late afternoon sun filtering through them. And what a great opportunity to shoot such a lovely model!
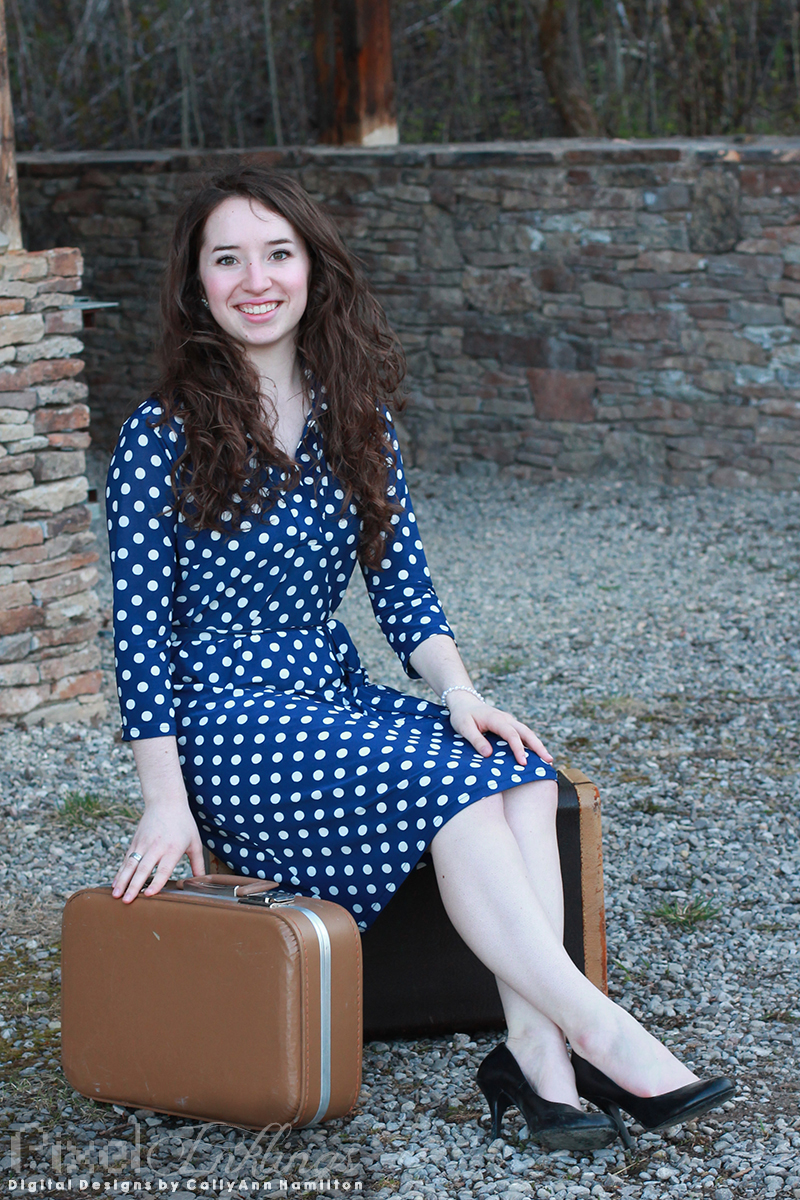
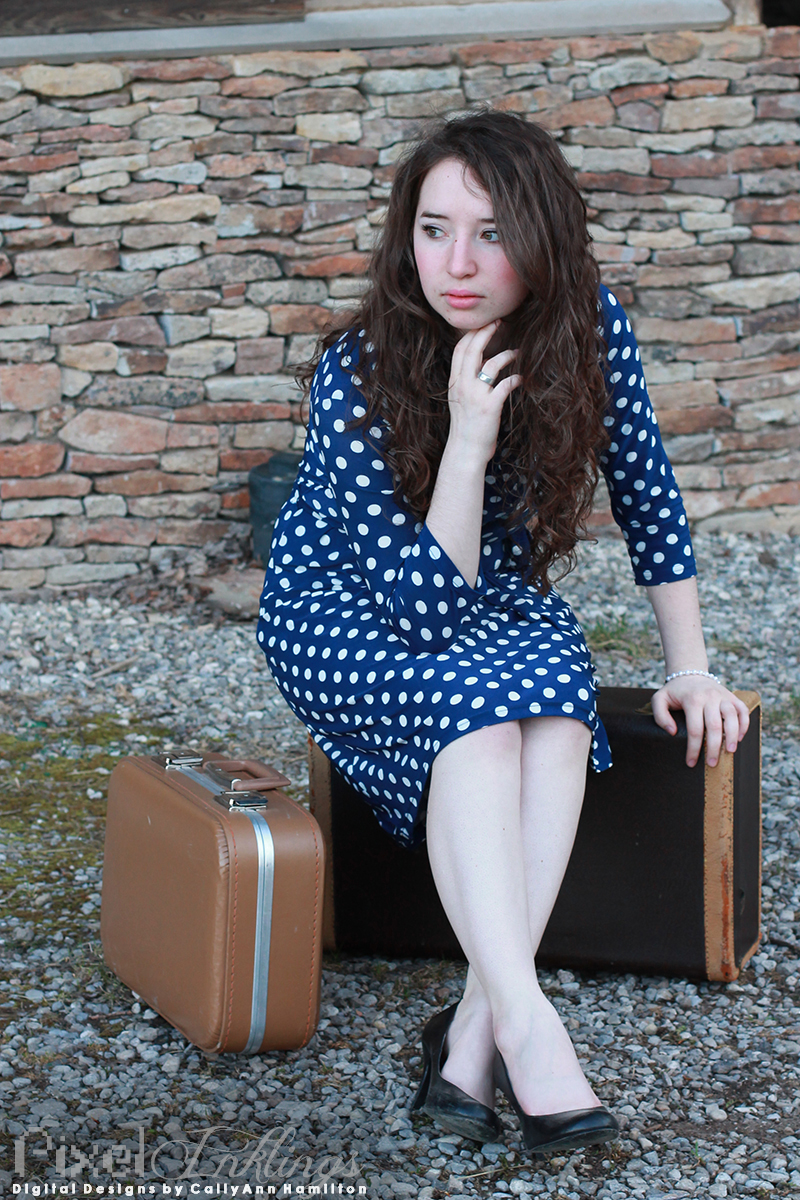
Mary’s second outfit was a cute polka-dot dress reminiscent of the 50s. She looked so elegant!
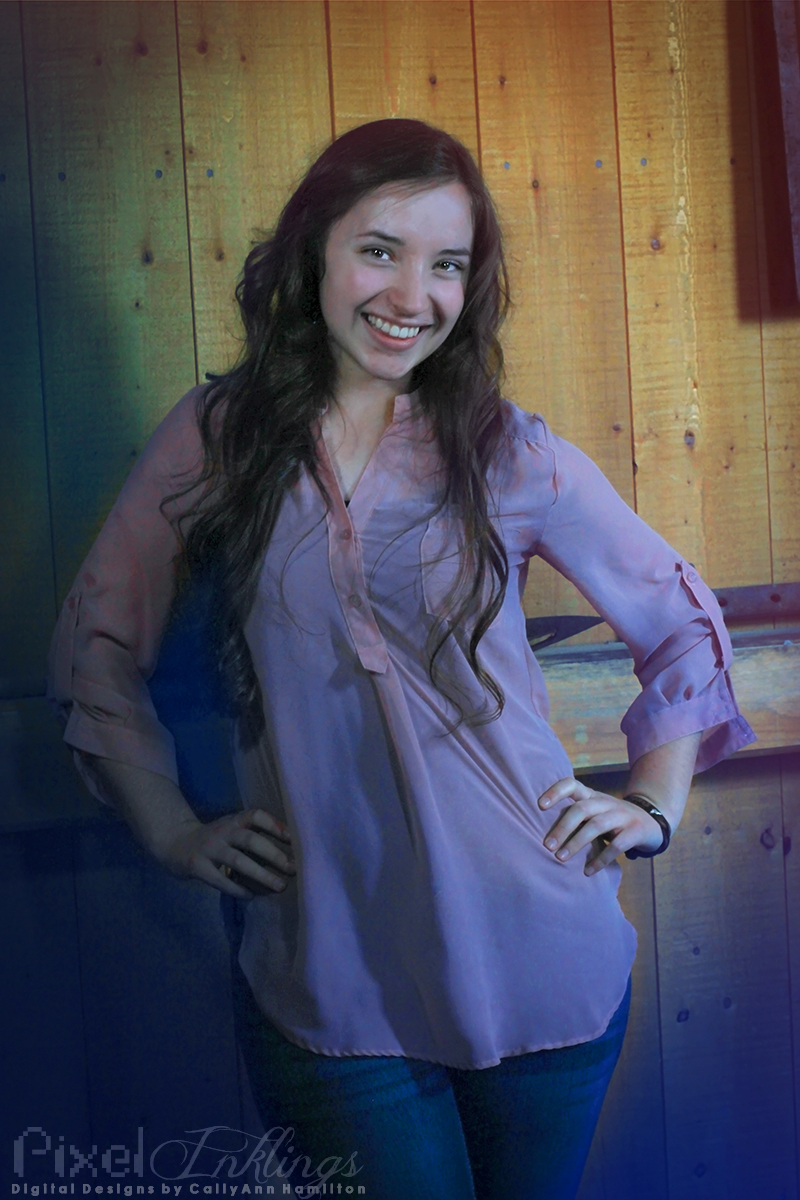
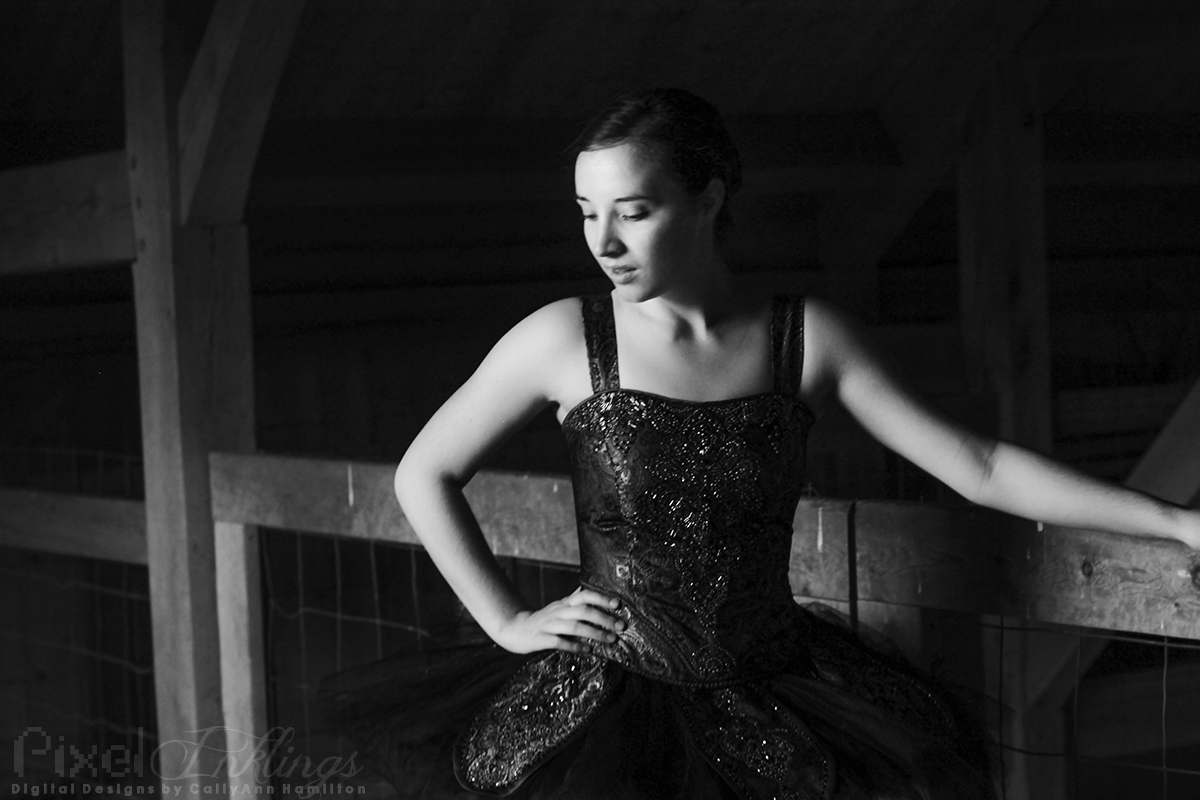
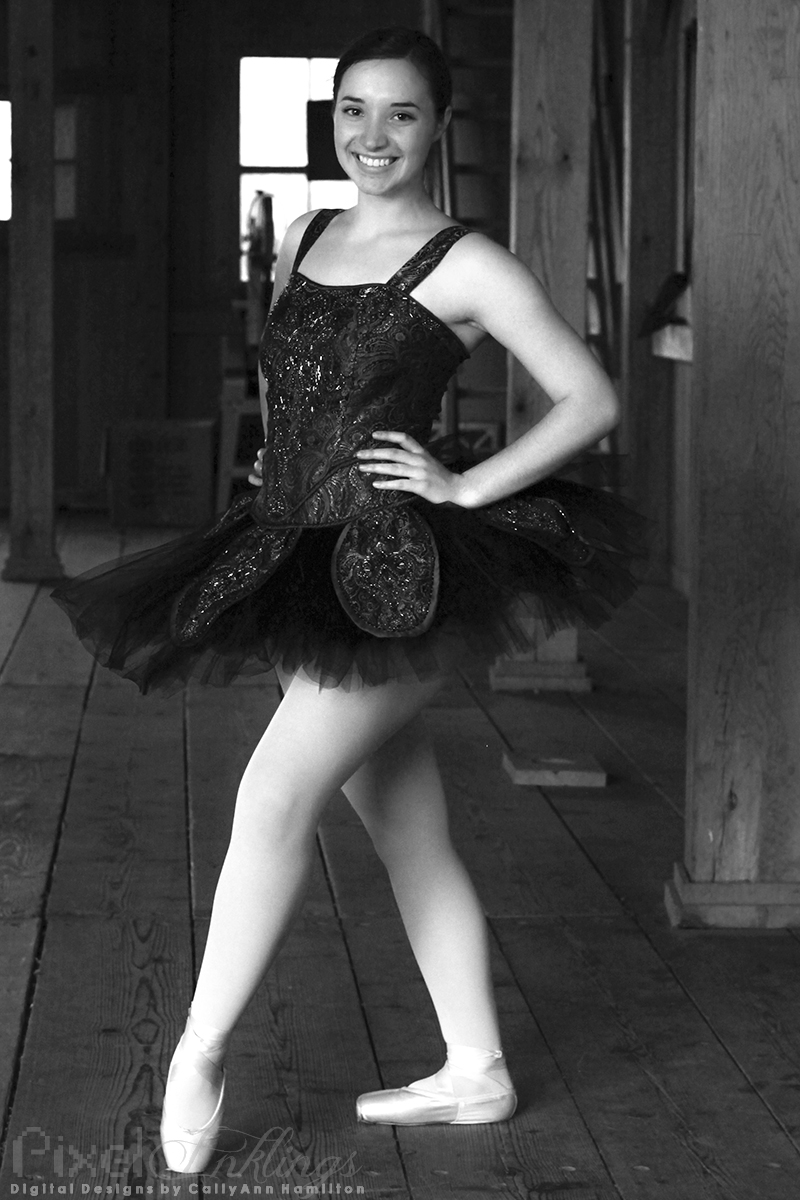
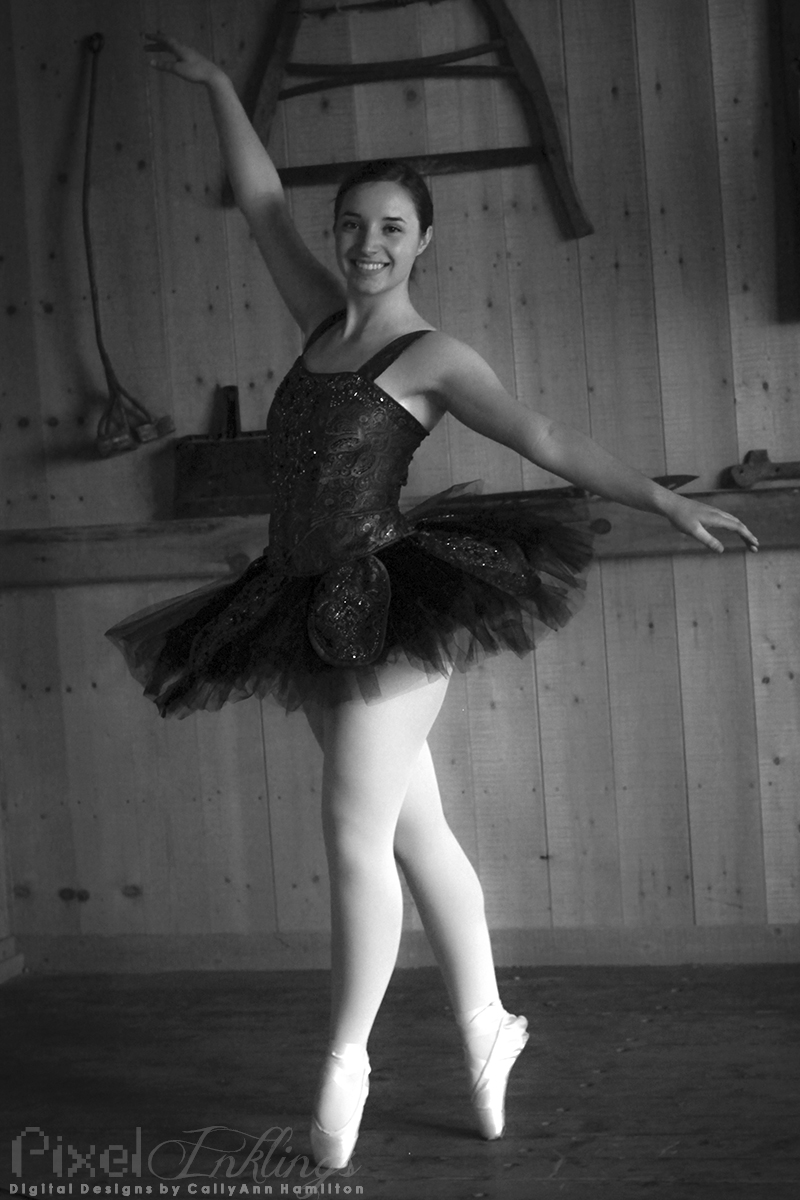
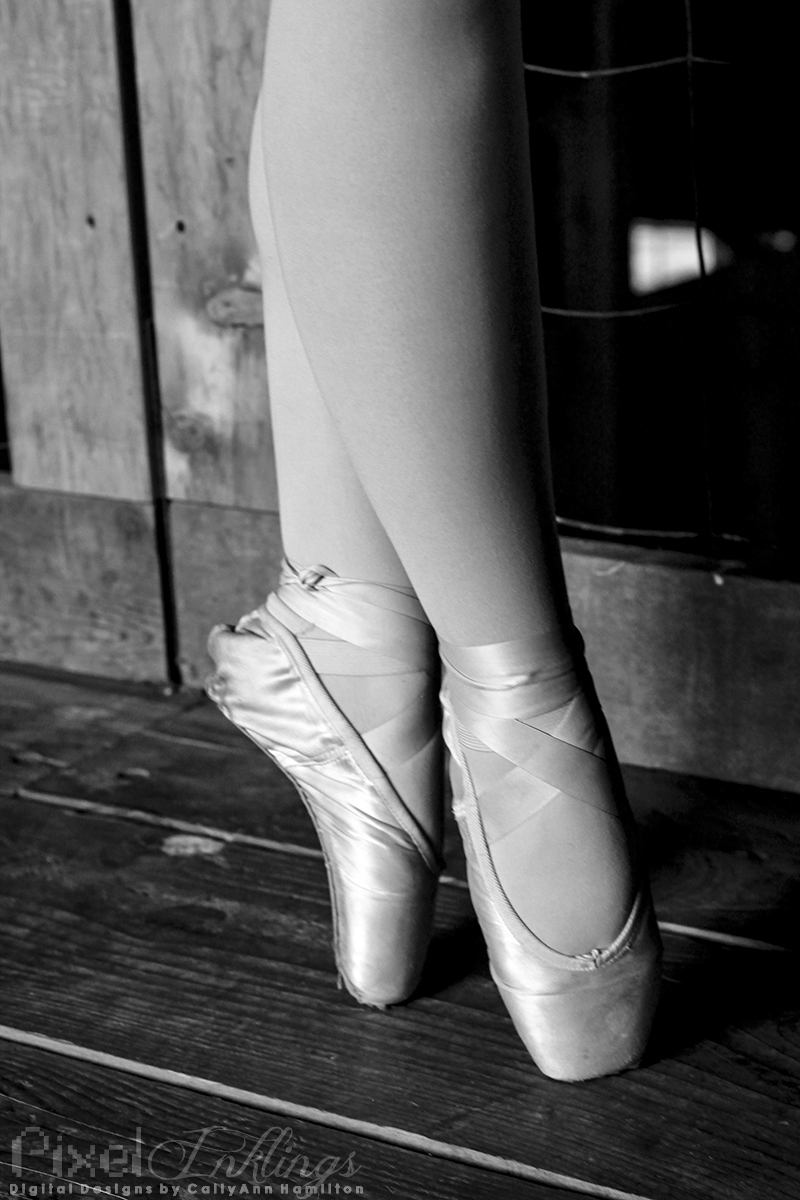
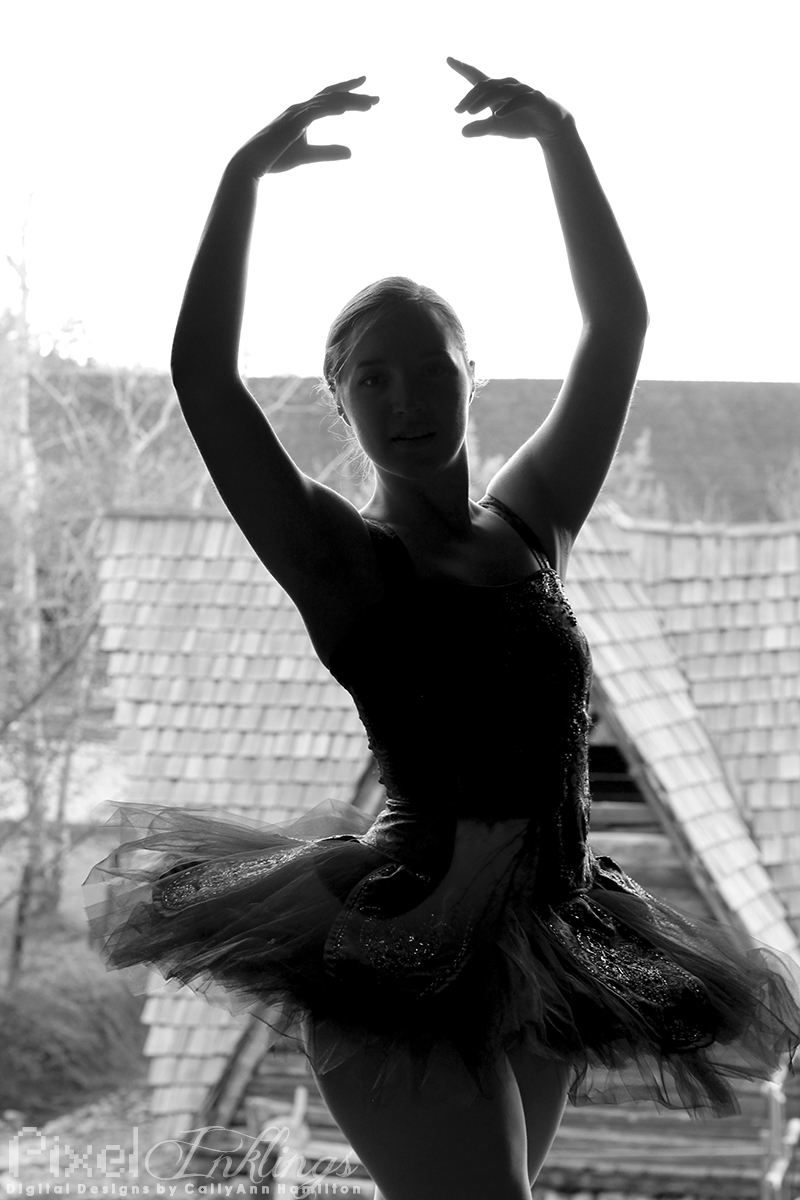
Darby was a little more difficult to shoot simply for want of light at her location, so I had to do significantly more editing on her photos. I had a great time experimenting with photoshop actions to achieve this effect:
Darby’s second outfit was her beautiful ballet costume. I loved the timeless effect converting the photos to black and white had on the tone of this mini shoot.
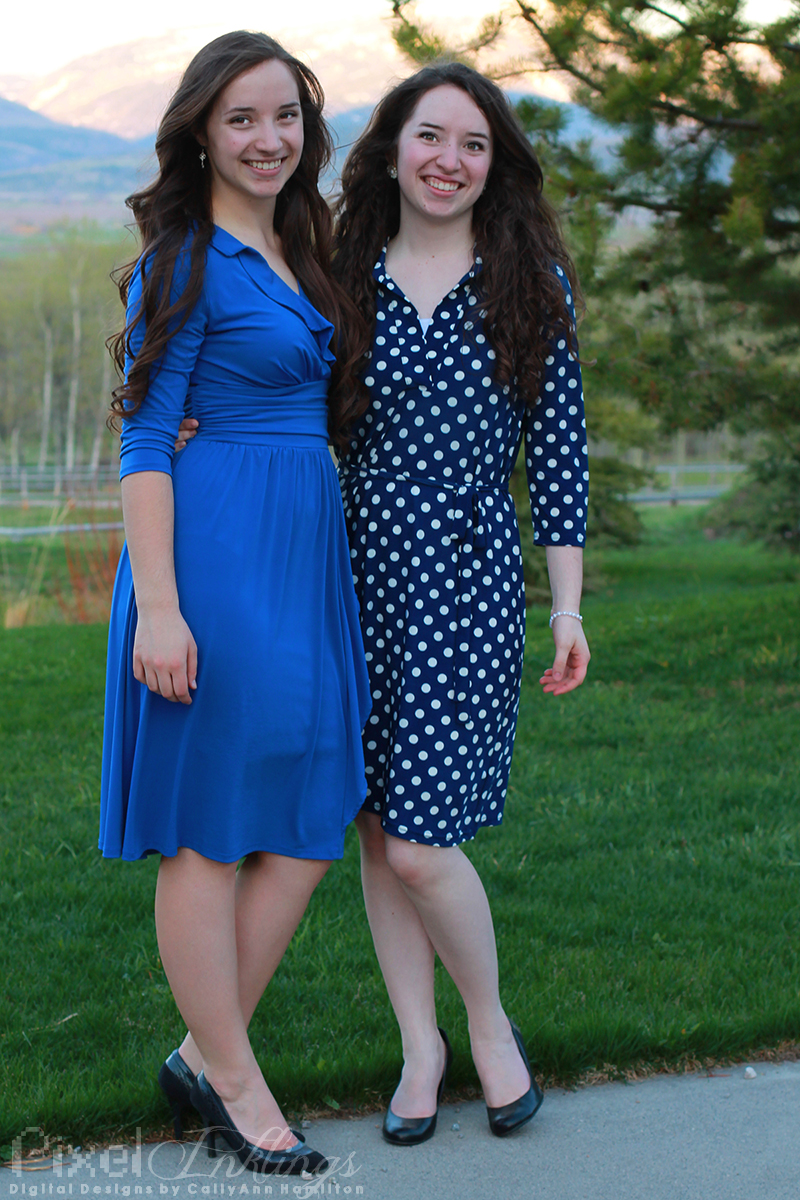
At the very end of the shoot, Darby and Mary’s mother wanted to get a few shots of the girls together. Darby changed into a pretty blue dress and I had a blast photographing the two of them playing off each other. Their personalities really came to life!
Sky Mountain Tabletop Lightpaintings
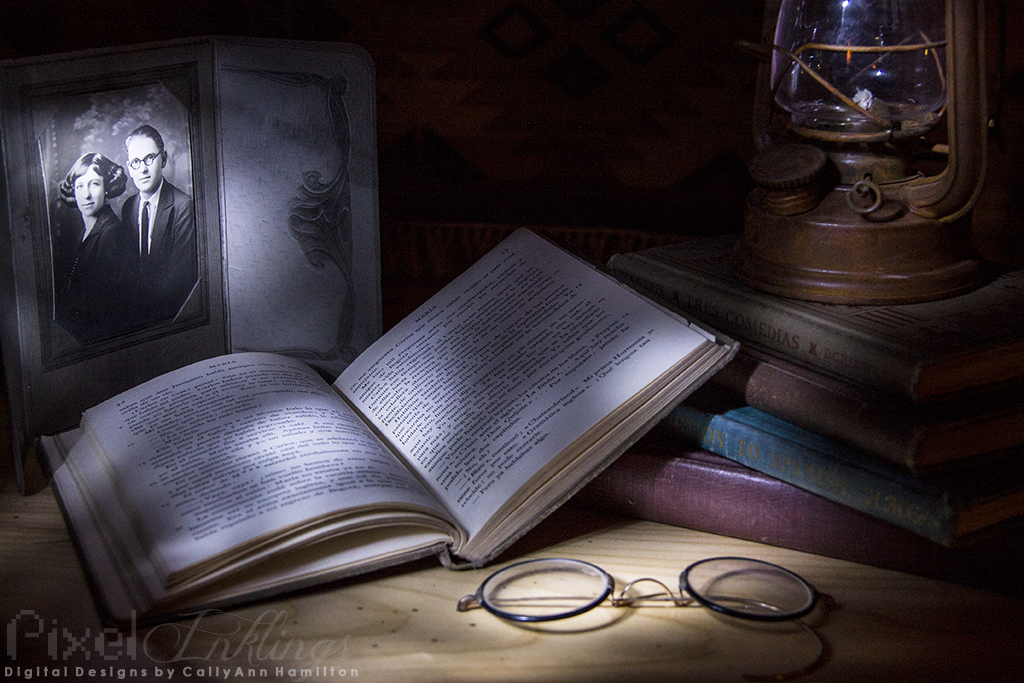
The Reader | May 10, 2013 | 9:47 pm | Sky Mountain Lodge, ID | f/7.1 | 10.0 | Canon EOS Rebel T3
Light painting is tricky, because it’s hard to know how your image will turn out. Though I was initially disappointed with this piece, I realized that it looked like the scene was sitting near a window, illuminated by moonlight filtering through tree leaves. Still, it was pretty dark and blurry, so in Camera Raw I increased the clarity, exposure, vibrancy and saturation.

Apothecary | May 10, 213 | 10:05 pm | Sky Mountain Lodge, ID | f/7.1 | 10.0 | Canon EOS Rebel T3
These little vials were the first thing I wanted to shoot when I saw them arranged with the other light painting scenes. I have a thing for bottles and colored liquids. The snoot on my flashlight was sloppy so I had a really hard time controlling the light. I had to do quite a bit of editing in Camera Raw to reign in the focus. I had way too much light, so I reduced the exposure, whites, and highlights, and boosted the shadows, contrast, vibrancy, and saturation. Finally, I reduced the clarity and added a vignette to soften the whole image.
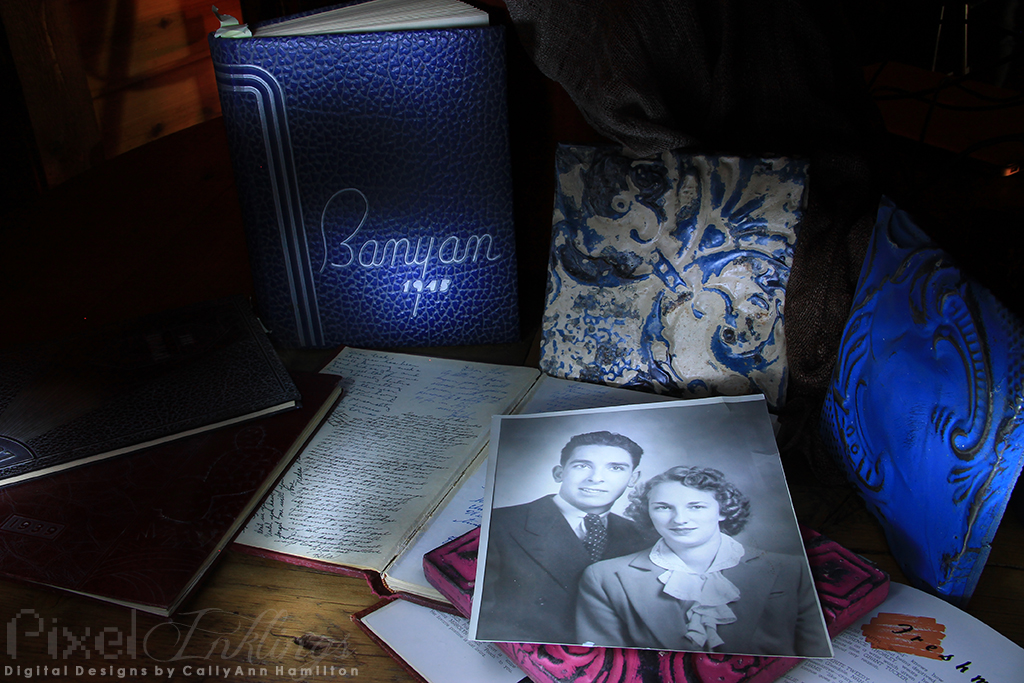
Yearbooks | May 09, 2013 | 10:29pm | Sky Mountain Lodge, ID | f/11.0 | 30.0 | Canon EOS T3
This was a difficult scene to arrange and paint. I didn’t really know what to do with all of the elements, particularly the strange tiles, but I’m satisfied with the somewhat pell-mell result. I love journals, and if I’d had time, I’m sure I’d have loved to look through these old books. I didn’t do any edits.
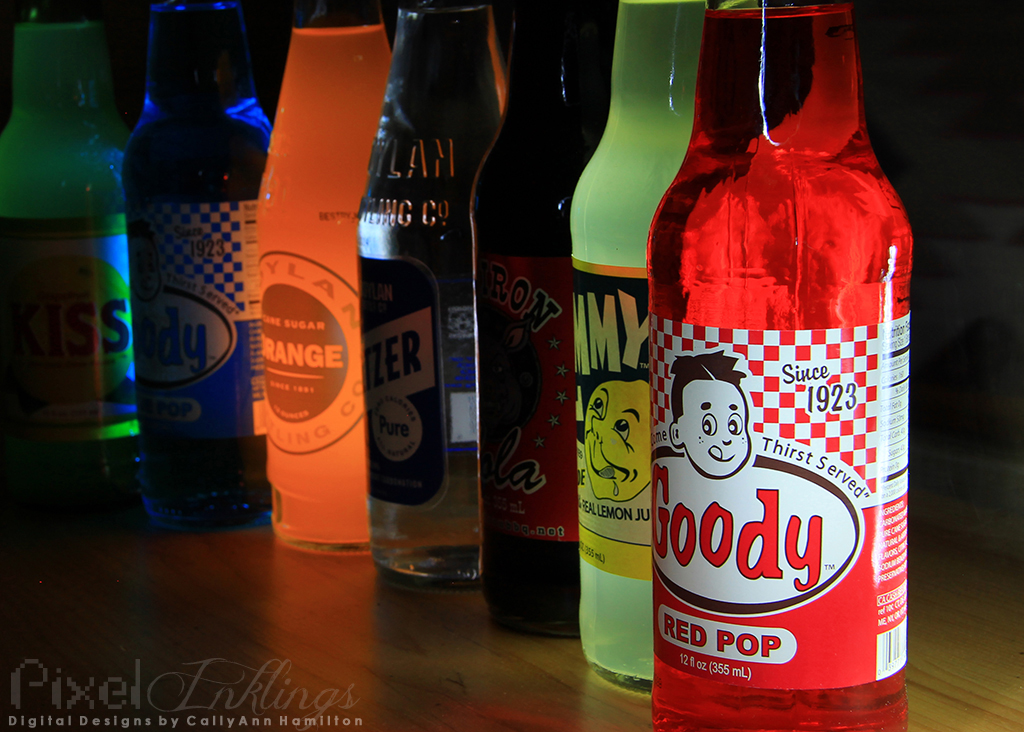
Soda Pop | May 09, 2013 | 10:19pm | Sky Mountain Lodge, ID | f/11.0 | 30.0 | Canon EOS Rebel T3
Remember what I said about that “thing” I have for bottles and colored liquids? That doesn’t quite extend to sodas. Still, I loved the colors of these classic pops and the way they lit up when I shined my light through them. I wasn’t very careful about the angle of my tripod so I had to tilt the image in Photoshop and then crop it down. I used content-aware fill to eliminate a distracting reflection from my flashlight on the red soda.
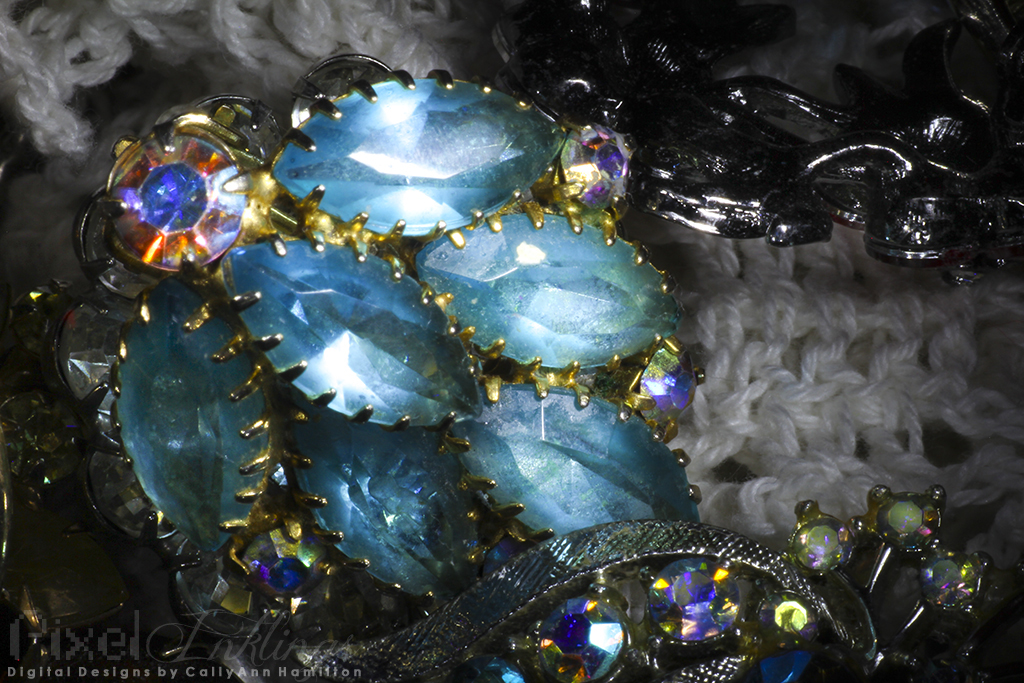
Heirlooms | May 10, 2013 | 11:09pm | Sky Mountain Lodge | f/– | 25.0 | Canon EOS 60D
My last tabletop light painting for the excursion had to be a macro shot, so I borrowed a classmate’s Canon EOS 60D and his macro lens and dialed in on this tiny scene of opulent jewelry. I had to really squish down the snoot on my flashlight to keep from flooding the whole scene, and I only dared keep the light on for about 10 seconds. My resulting photo was way too dark, so I had to take it into Camera Raw and boost the vibrance and saturation significantly. With an adjustment brush I increased the saturation, exposure, and sharpness on the facets of the jewels to bring them out even more.
Sky Mountain Lodge Light Painting

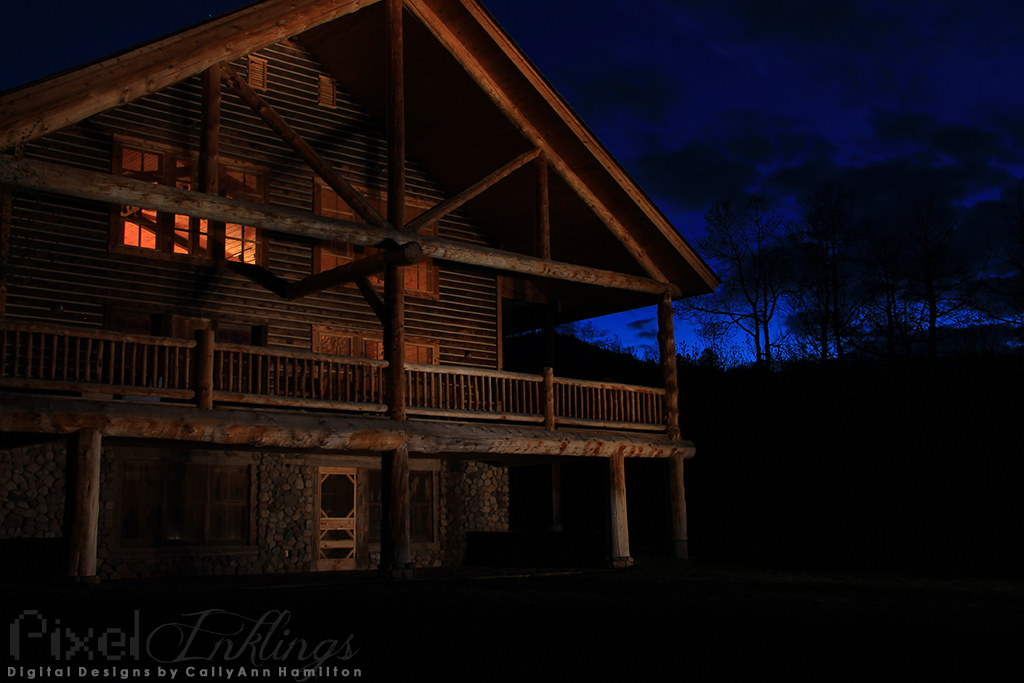
Our Neck of the Woods | May 10, 2013 | 8:05pm | Sky Mountain Lodge, ID | f/11 | 6.0 | Canon EOS Rebel T3
This cabin is across the way from Sky Mountain Lodge. Fortunately no one was there, or they would have probably been annoyed by the number of cameras parked outside their home and the large lights flashing past their windows.
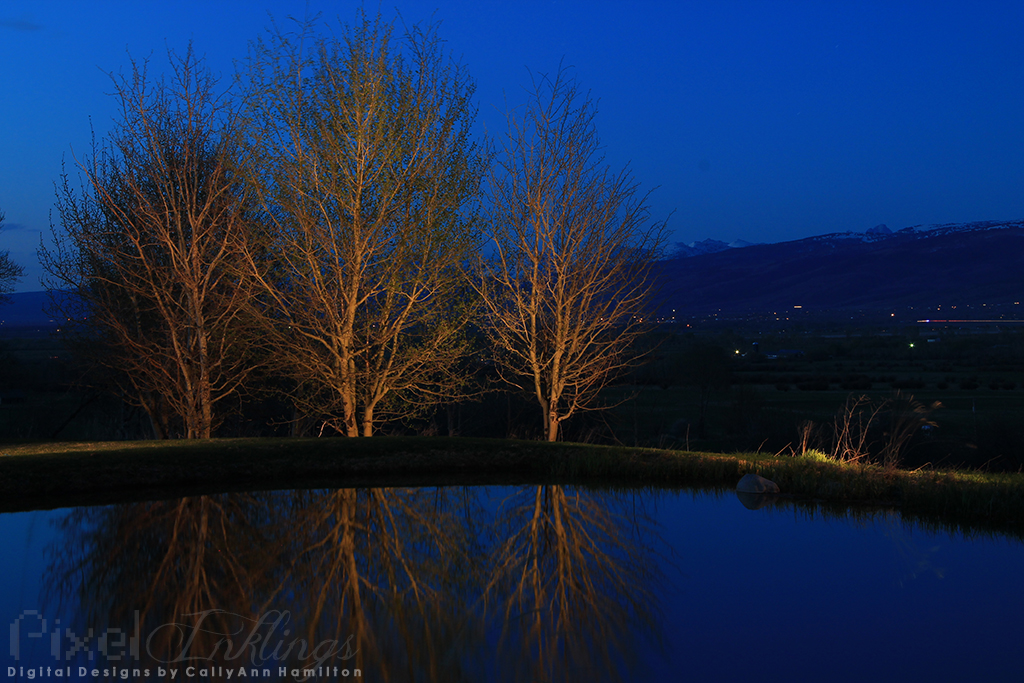
Sparse | May 10, 2013 | 8:21pm | Sky Mountain Lodge | f/13.0 | 25.0 | Canon EOS T3
As “Blue Hour” passed through the sky turned a breathtaking shade of cobalt. We only had to paint light over the trees, and the pond naturally picked up the reflection. Since my shutter speed was open so long, you can see a neat streak of red in the background, indicating the tail-lights of a passing car down in the valley.
All Our Own | May 10, 2013 | 8:35pm | Sky Mountain Lodge, ID | f/14 | 20.0 | Canon EOS Rebel T3
There’s nothing like the stillness and quiet of a secluded cabin in the woods. The lodge was a little difficult to light paint because the windows reflected so brightly, but my flashlight-wielding teammates really pulled it off! I did some tiny spot editing in Photoshop to remove a glare from one of the lower windows.
“Confessions” Movie Poster Spoof
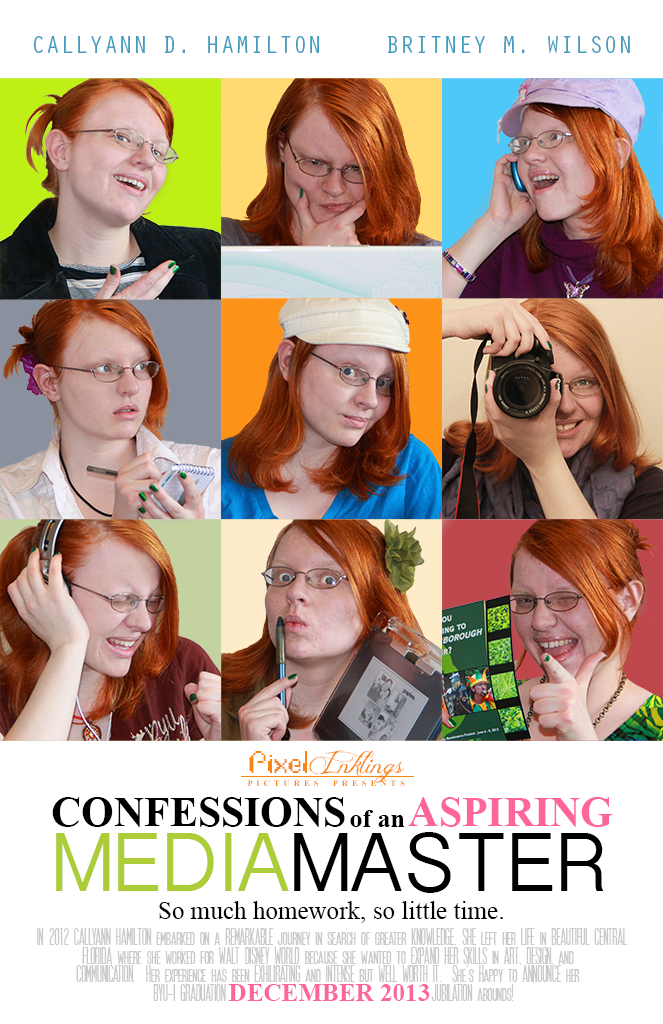
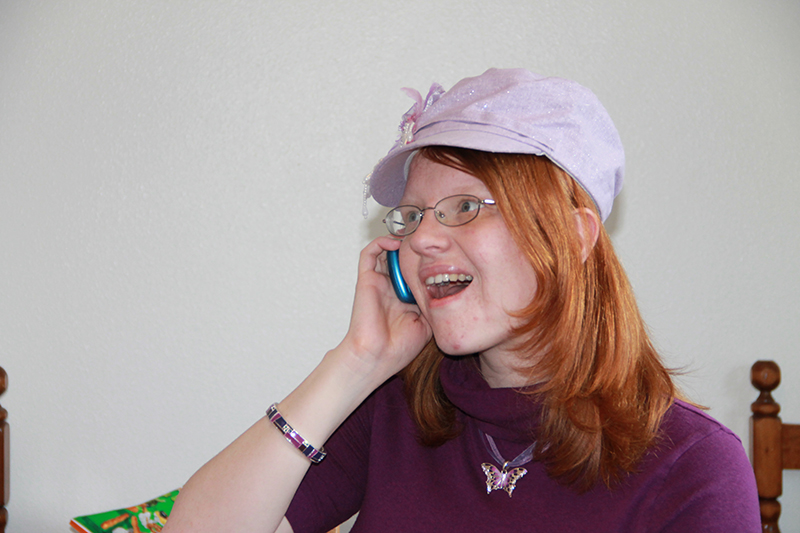
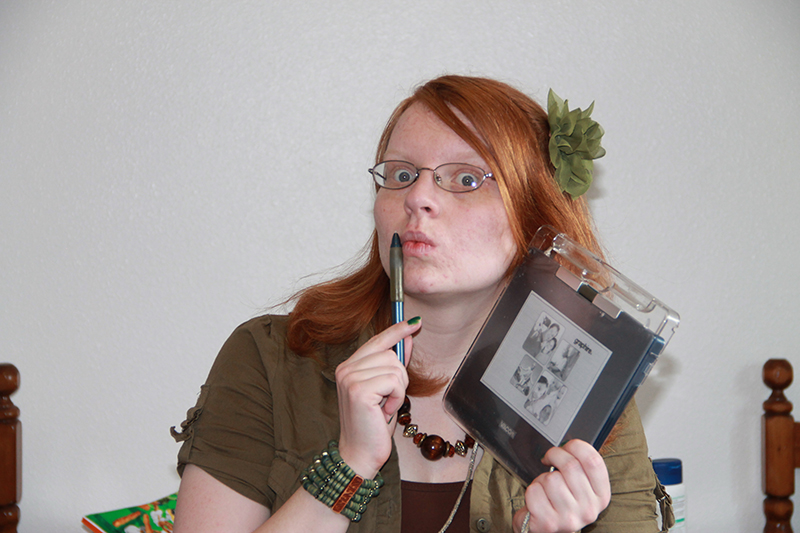
As a Visual Communication major, I find myself wearing several different hats. Though I didn’t love the movie, I loved the layout of the “Confessions of a Teenage Drama Queen” movie poster and thought it would be fun to spoof it! I certainly felt like a teen putting this together–I changed my outfit nine times and took over a hundred and fifty selfies to get the right photos for this project! Self-portraits are really difficult when you don’t have a trigger or anything to focus on it. I also had pretty poor lighting. The photo WITH my camera was the most awkward to take and edit, since I had to use my bathroom mirror to take it. Even so, I had a lot of fun with this! Here are the original photos:
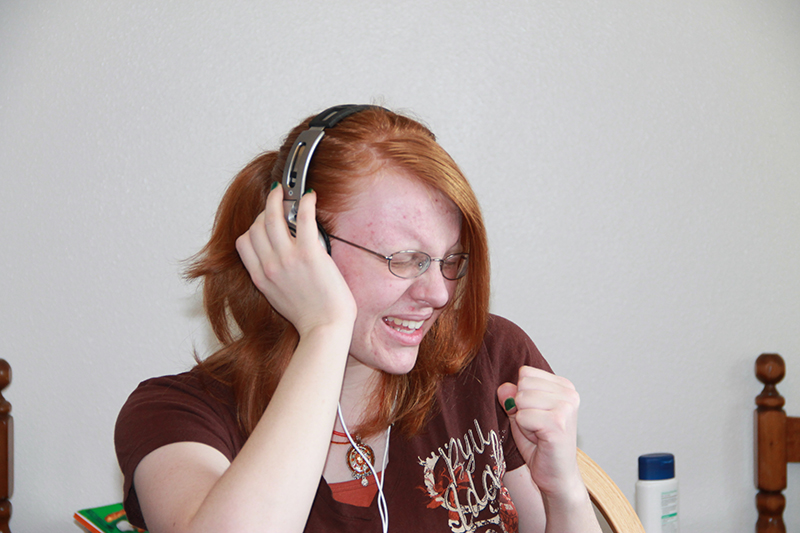
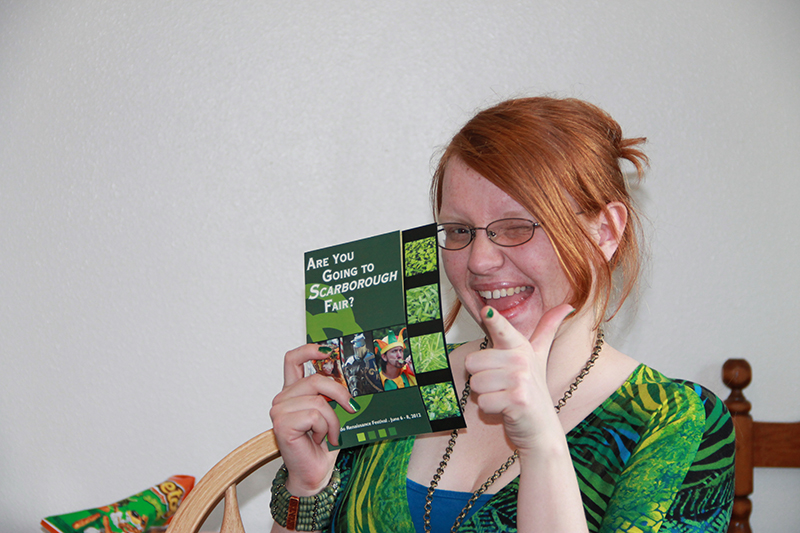

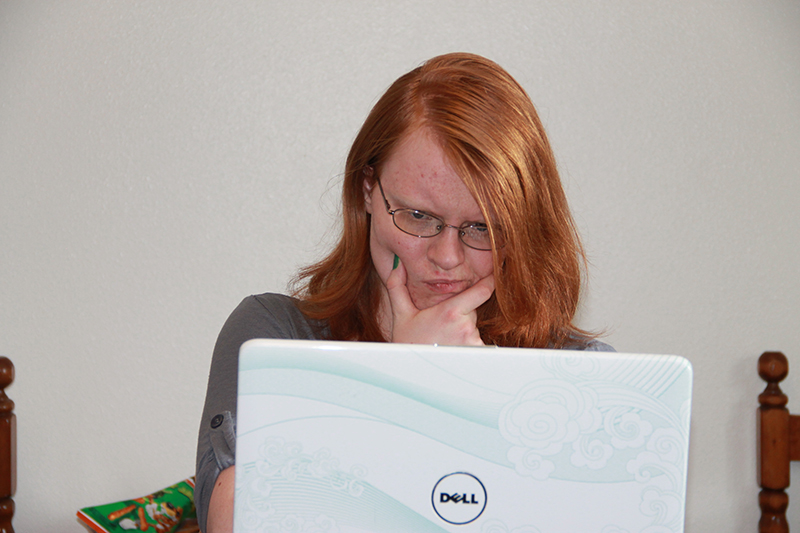


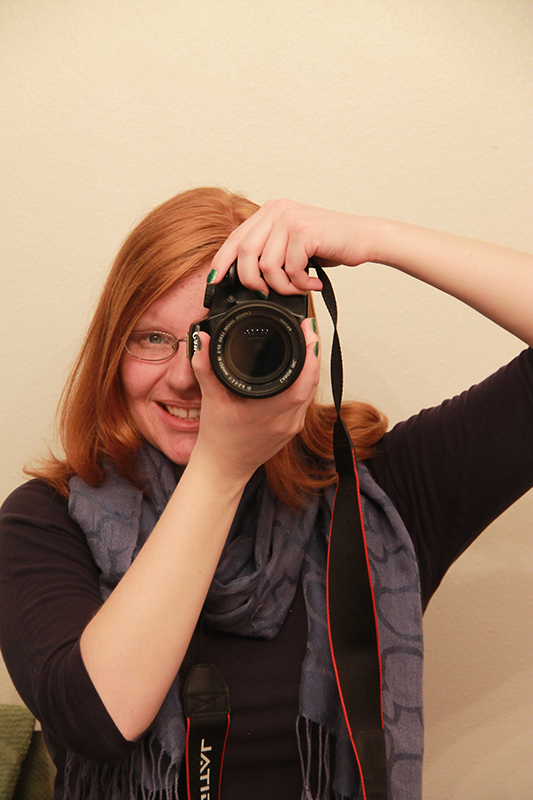
To edit the photos, I relied mostly on selection tools (lasso and quick selection), two adjustment layers (for hue and saturation), and the brush and eraser tools for airbrushing my terrible complexion and sculpting out the stray hairs I couldn’t select. For the photos I used my Canon DSLR and a tripod. Since I don’t have a trigger, I had to set a ten second timer, focus the shot on my chair, and then run into the shot before it took. I’m sure there must be a simpler way! If I wanted to put more time into the project I’d probably refine the airbrushing some more, and try to make the photography image match better than it currently does. It looks pretty scary.
Extras
These are extra photos I included in my photobook that I’ve not posted before.
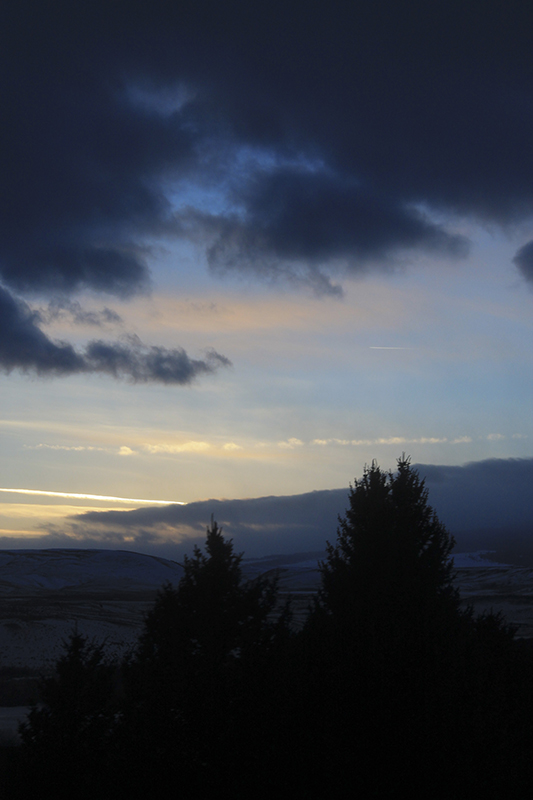
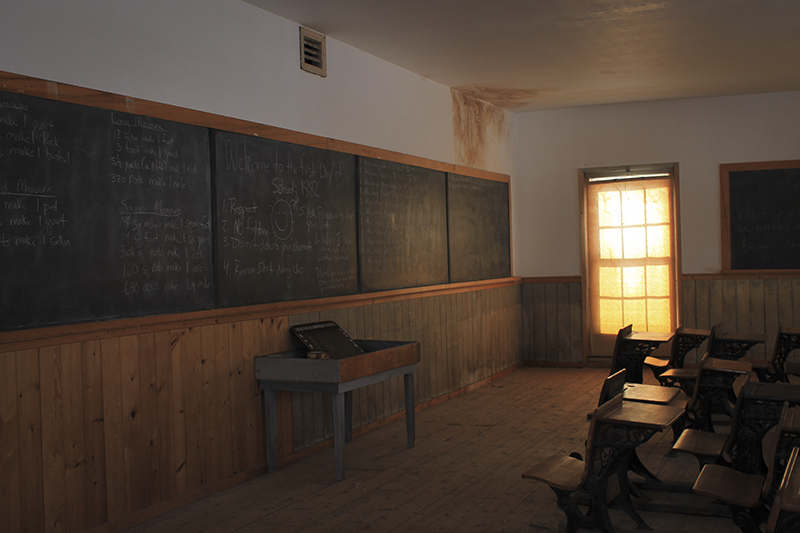
Bannack Sky | Feb. 14, 2013 | 5:58pm | Bannack Ghost Town, Montana | f/5.6 | 1/250 | Canon EOS Rebel T3
I took this photo through the window of the bus as we left Bannack Ghost Town. It was a shame we had to leave when we did because the lighting was finally perfect for shooting. I was so sick and worn out though, I’m not sure I could have lasted any longer anyway. No edits.
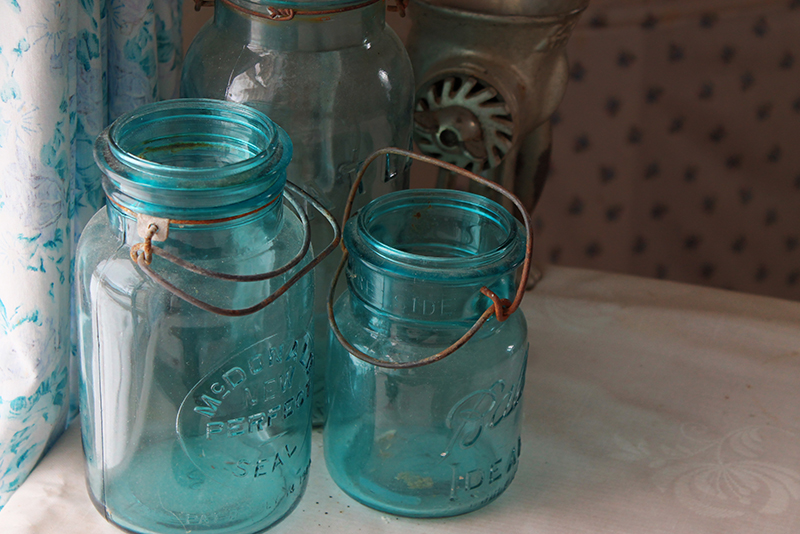
Jar Dust | Feb. 14, 2013 | 1:52 PM | Bannack Ghost Town, Montana | f/5.6 | 1/200 | Canon EOS Rebel T3
I found these mason jars in the doctor’s house in Bannack Ghost Town. I took the photo at three different exposures and ran the images through Photomatix to create an HDR image. In Camera Raw, I boosted the saturation and contrast.
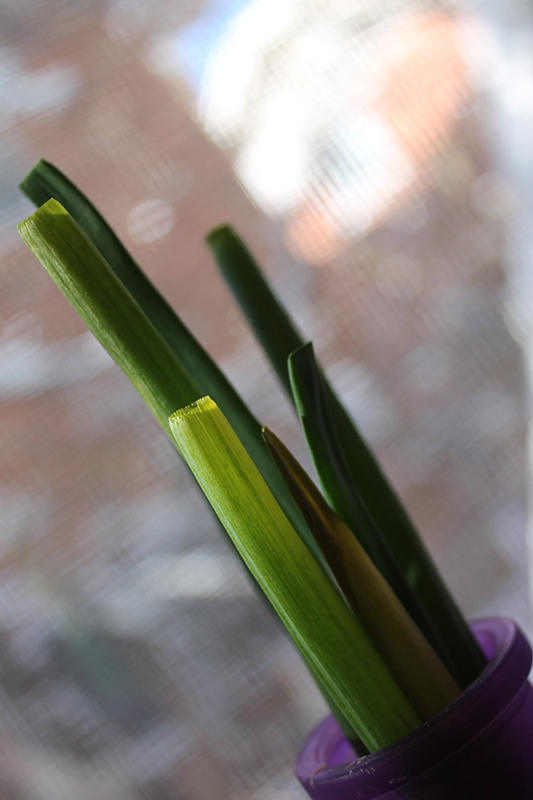
The Little Things | Jan. 13, 2013 | 1:51pm | Apartment windowsill; Rexburg, ID | f/4.5 | 1/80 | Canon EOS Rebel T3
My roommate taught me that green onion can be grown in a vase in the windowsill. I used hers to practice shallow-depth photography. I like the texture of the window screen in the background.
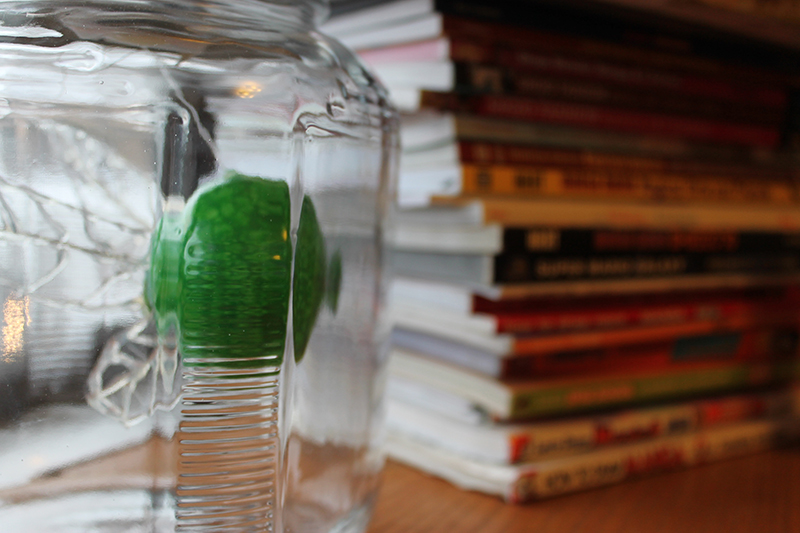
Bottles, Wings and Books | Jan 9, 2013 | 4:24pm | Apartment; Rexburg, ID | f/4.0 | 1/50 | Canon EOS Rebel T3
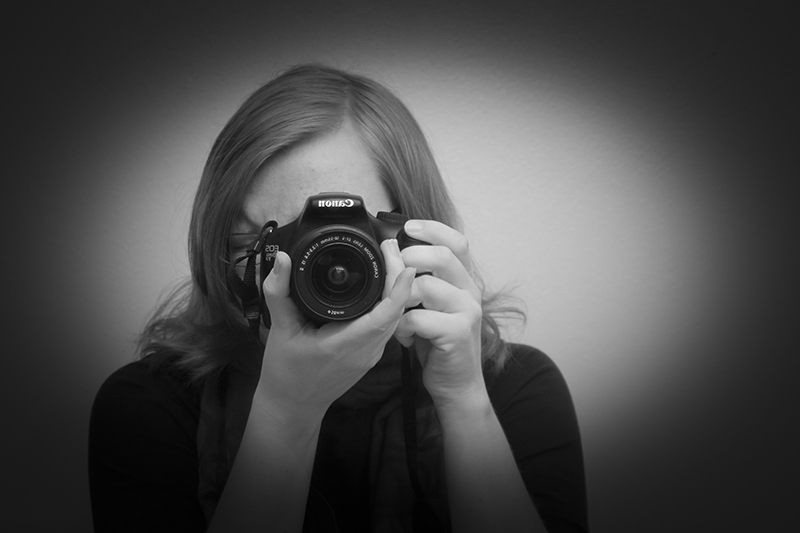
The Photographer | Jan 9, 2013 | 8:46am | Apartment; Rexburg, ID | f/5.6 | 1/80 | Canon EOS Rebel T3
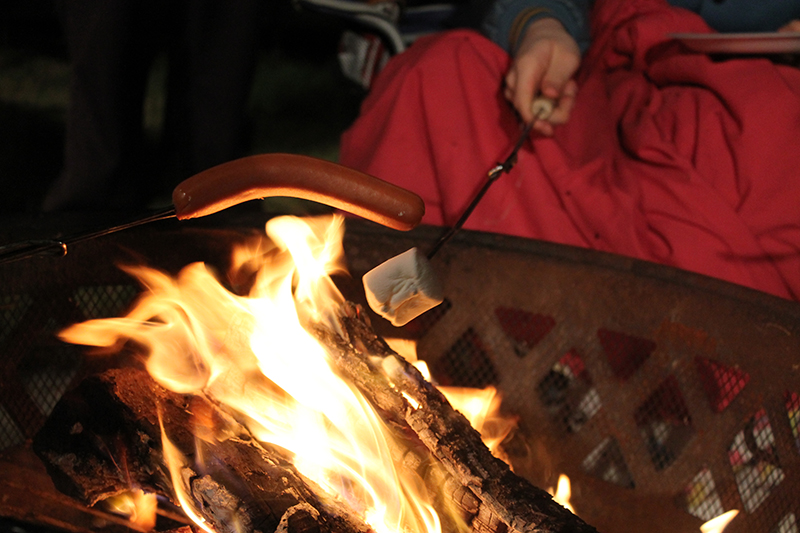
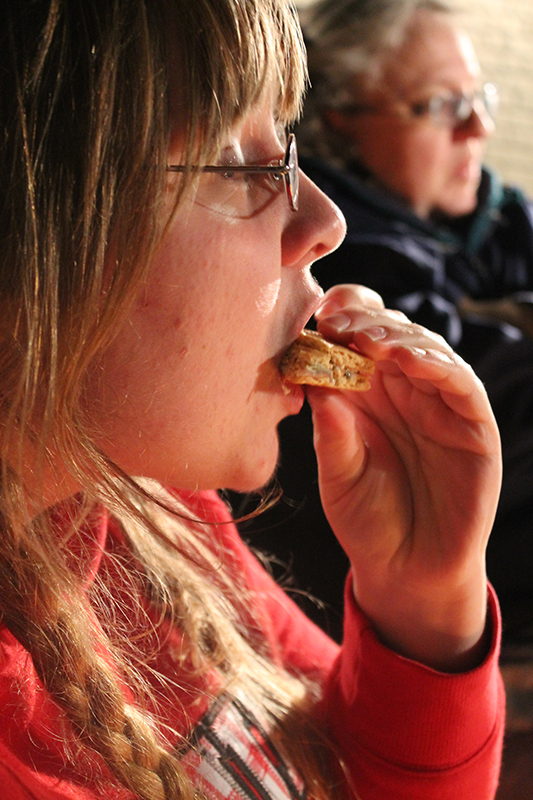
Backyard Cookout | Jan 3, 2013 | 7:54pm | San Juan, TX | f/5.0 | 1/60 | Canon EOS Rebel T3
Smore | Jan. 3, 2013 | 7:09pm | San Juan, TX | f/5.0 | 1/15 | Canon EOS Rebel T3
Remnants | Feb. 14, 2013 | 12:37pm | Bannack Ghost Town, Montana | f/5.6 | 1/50 | Canon EOS Rebel T3
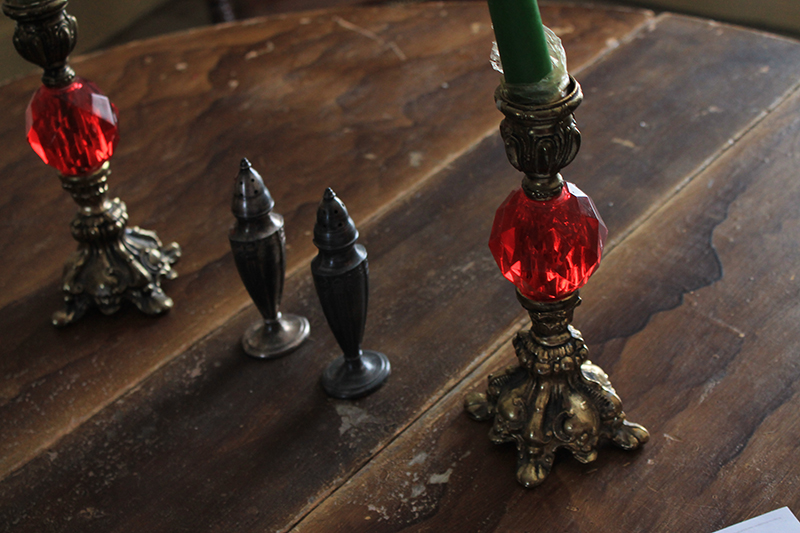
Ruby Candlestick | Feb. 14, 2013 | 1:56pm | Bannack Ghost Town, Montana | f/5.6 | 1/50 | Canon EOS Rebel T3


Large Print
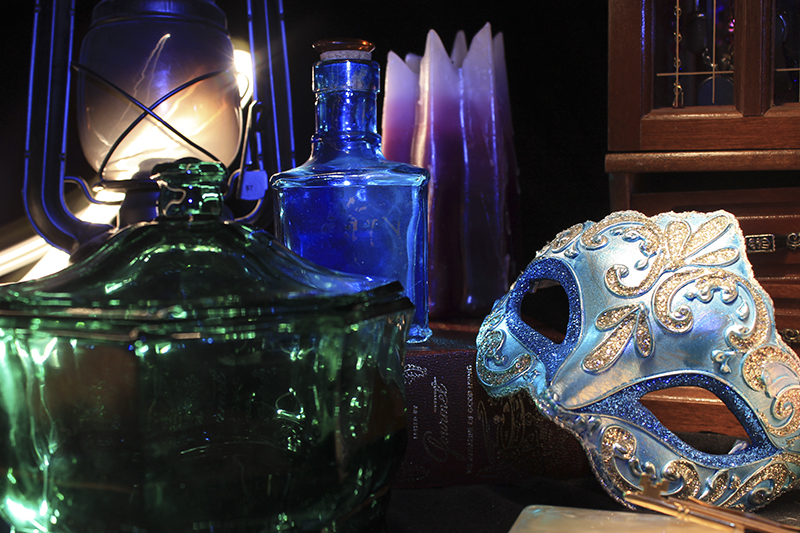
Secrets | Feb. 26, 2013 | 9:00pm | Rexburg, ID | Manual | f/5.6 | 6.0 | Canon EOS Rebel T3
This is yet another variation on my light painting. This one will be printed at 20 x 30 and framed to hang in the Spori. My rommate Brit and I made this using a small pocket light. I first focused the camera with the lights on, then, still holding the focus, turned off the light and pushed all the way on the trigger to take the shot. During the six minutes that my shutter remained open, Brit used the pocket light to briefly splash the mask, candy dish, lantern and the candle with light. Behind the lantern you can see a light trail left by the brief moment her light shined directly into the camera lens. As you can tell from my earlier posts, I have several variations of this scene, because each time we shot the lighting and colors turned out very differently. I ultimately decided to print this one because I think the focus in this image is better than that of the others, and I love the shade of purple on the candle in the back and hints of blue in the lantern. I used the lasso tool and content aware fill to remove a label from then lantern, boosted the vibrancy, and added a dark vignette in Camera Raw to soften the edges and keep the eye from wandering off the edge of the image.
Original:
Secrets Original
Borders

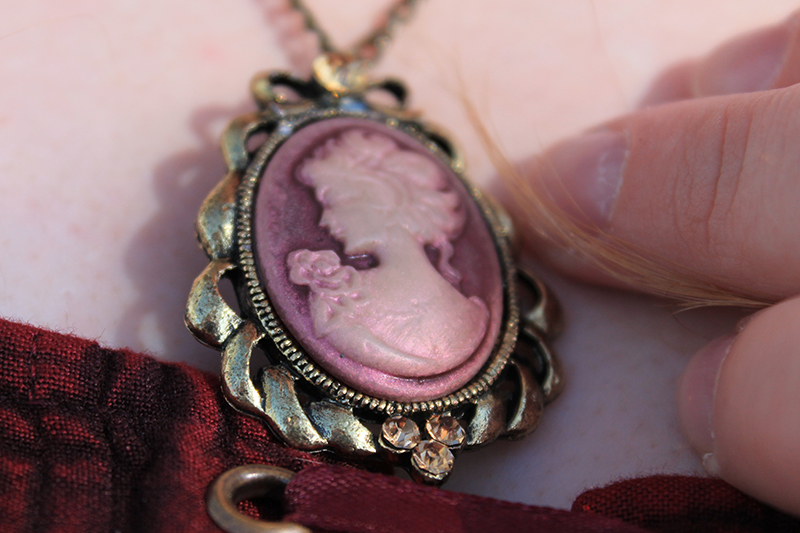
Rose Cameo | Feb. 16, 2013 | 2:39pm | Rexburg, ID | f/5.6 | 1/500 | Canon EOS Rebel T3
I learned this neat border trick from Caryn Esplin’s book, Custom Images. To get this effect, I set a black mask over the image and a white layer behind, then I used white on an assortment of thick, heavy brushes to “paint” the image back in, leaving the white background layer to show through as a border. I really like the effect that the lowered opacity on the brushes gave me. I’ll definitely be using this again.
This is the original image:
Rose Cameo Original
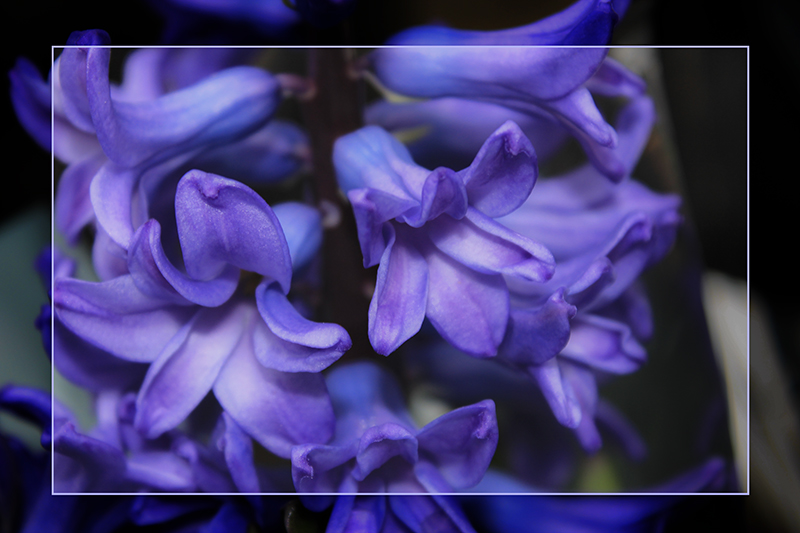
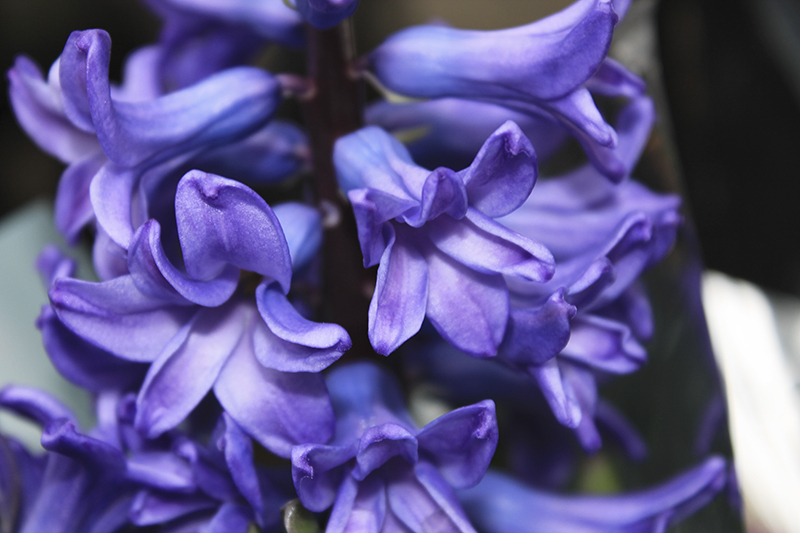
Purple Flowers | Jan. 24, 2013 | 11:46am | Benson Greenhouse, BYU-I; Rexburg, ID | f/6.3 | 1/80 | Canon EOS Rebel T3
This is another neat border technique, and a relatively simple one at that. I just duplicated the layer, set it to multiply, and then used the rectangular marquee tool to delete the center, leaving behind the darkened edge. I then applied a 10px stroke in a light lavender color and duplicated the multiply layer to darken the border even more. It ended up being too much so I scaled down the opacity on the second multiply layer. And, voila! This isn’t one of my favorite images, but I think the border helped salvage it, along with several other edits made in camera raw. The original is below:
Purple Flowers Original
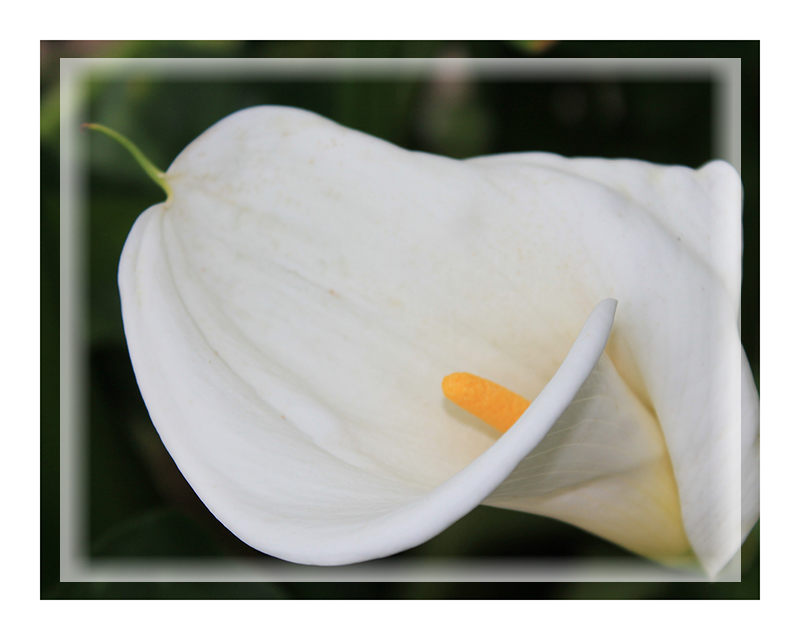
Fleur | Jan. 24, 2013 | 11:55am | Benson Greenhouse, BYU-I; Rexburg, ID | f/5.6 | 1/100 | Canon EOS Rebel T3
This border effect was more complicated than the others, only because I’ve never used the rectangle tool. I started by cropping it and then adding to the canvas to get the white border. Then I added a white rectangle using the rectangle tool, and masked out part of it using a black rectangle tool. I applied a motion blur to the inner border and lowered the opacity of the layer to soften the border.
The original:

Fleur Original
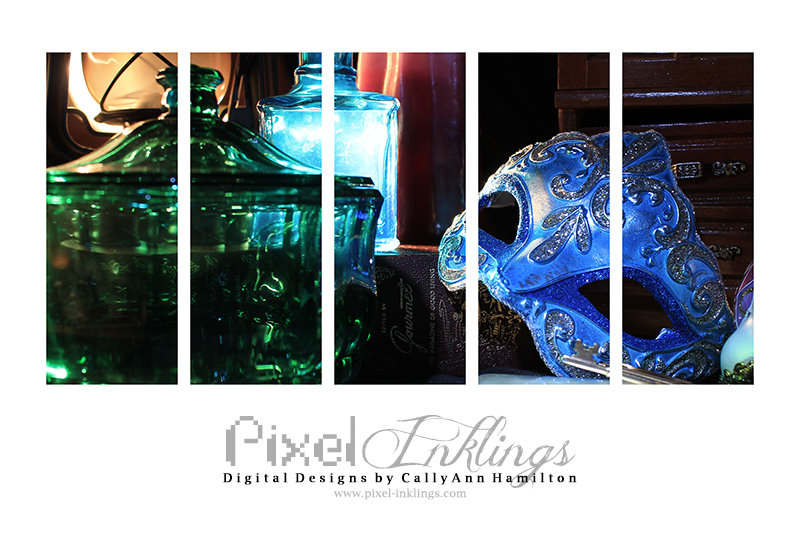
Fine Art Framed | Feb. 26, 2013 | 8:39pm | Rexburg, ID | f/5.6 | 6/0 | Canon EOS Rebel T3
This is a really elegant framing technique Caryn Esplin learned from Scott Kelby and shared with the class. I created the template by using the rectangle tool to create black “windows,” and then I posted the photo over the template and converted it into a clipping mask. I finished it off by adding my logo on the bottom.
The image is a variation of the light painting I posted before:
Treasure II Original
Night and Light
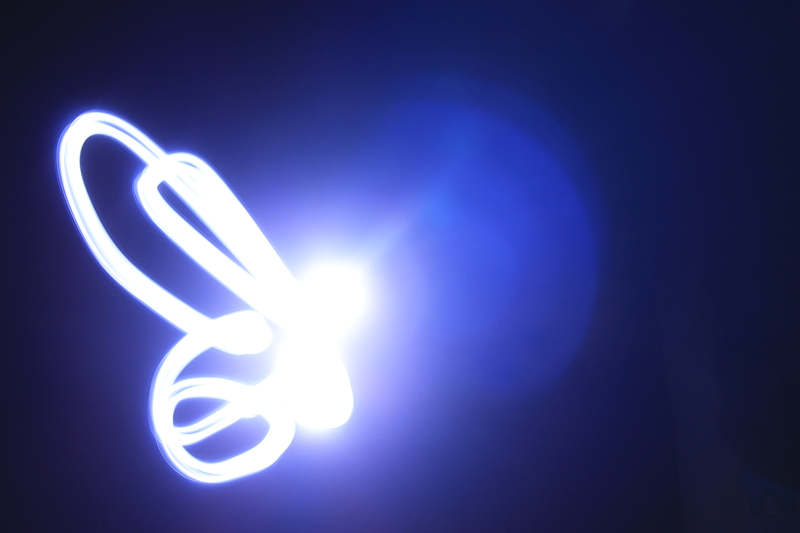
Firefly | Feb. 27, 2013 | 12:51am | Rexburg, ID | f/5.6 | 6.0 | Canon EOS Rebel
This is a light sketch! I set my shutter speed to 6 seconds with a two second timer. I had to turn the lights on to get the camera to focus, take the shot, and then quickly turn off the lights and starts rapidly “drawing” in the air with a small LED flashlight as soon as I heard the shutter click. I was trying to draw Navi for The Legend of Zelda so I deliberately was trying to draw wings and ended up with this. I wish I’d had a flashlight with more focused light so I didn’t have to point it right at the camera to get light trails, bu ah well. As it was, I had to go to six neighboring apartments looking for flashlights and AAA batteries. I used the clone stamp tool in Photoshop Elements to remove the speck of sensor dust from the image.
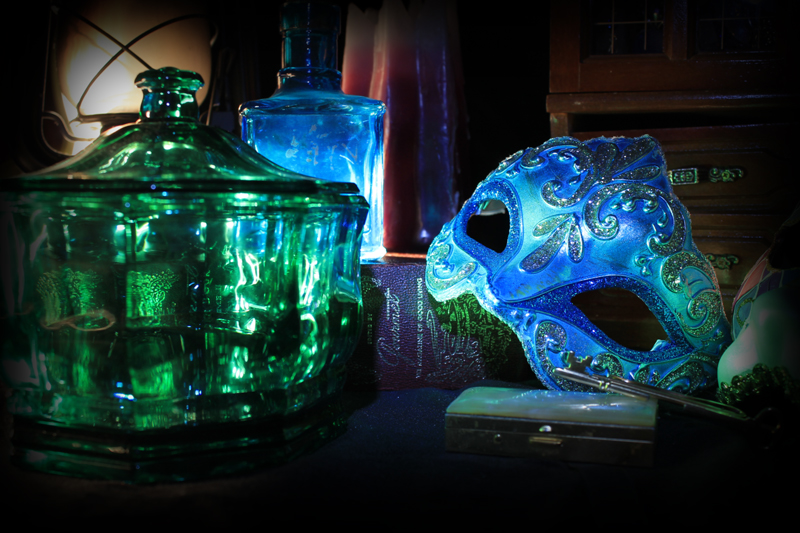
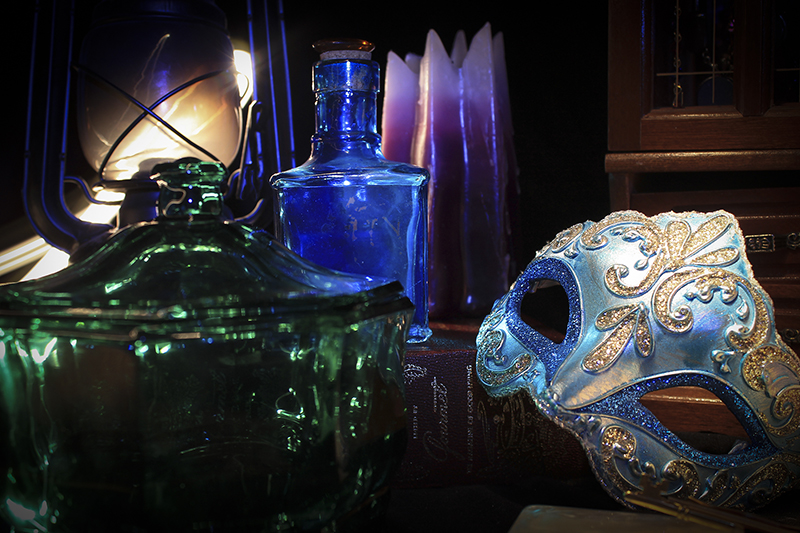
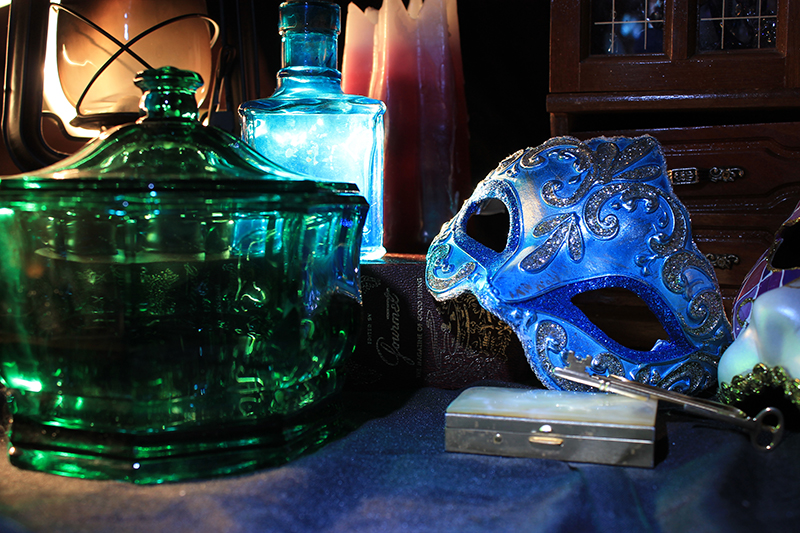
Treasure | Feb. 26, 2013 | 8:37pm | Rexburg, ID | f/5.6 | 6.0 | Canon EOS Rebel T3
I recruited my roommate Brit to help set up and light this scene. Most of the beautiful things in this image belong to her. It took several shots to decide where we wanted the light. I sat by the table manning the camera, while she turned of the light and used a tiny pocket light to illuminate the scene. the greenish light on the mask was caused by Brit shining the light through the glass candy dish on the left. I used a very subtle Gaussian blur in Photoshop elements to soften the whole image, and added a shadow vignette to add more mystery to the photo.

Swear Not by the Moon | Feb. 26, 2013 | 10:31pm | Rexburg, ID | f/5.6 | 2.5 | Canon EOS Rebel T3
If I didn’t know any better, I’d look at this image and think it was made in Photoshop simply by dragging a white brush over a black canvas–but it’s actually a camera motion shot! I pointed my camera at the moon, took the shot, and used my 2.5 second window of time to “draw” the shape by rapidly moving the camera. For reasons I don’t quite understand, I had to “draw” the heart shape upside-down in order to get it to appear right-side up in the image. It took a lot of trial and error to figure that out. It still amazes me that the light looks so crisp! For editing I merely cropped it in closer.